Tooth Gems: Kits, Crystals, Designs & Application Guide | LaserGlow
Tooth Gems: Professional Kits, Crystal Designs & Complete Application Guide
Tooth gems are small flat-back crystals bonded to the outer enamel surface using a professional dental bonding system — etch, bond, and light-cure composite glue — with no drilling and no permanent tooth alteration. This hub covers everything: how tooth gems work, which tooth gem kits and supplies professionals use, popular crystal tooth gem designs, how long tooth gems last, aftercare that extends gem life, enamel safety, and how professional tooth gem removal works.
What You'll Find in This Tooth Gem Resource Hub
This is LaserGlow's main tooth gem resource page — one starting point whether you are shopping for a professional tooth gem kit, browsing crystal tooth gem designs, learning the bonding and application process, or sourcing supplies for a tooth gem business. Use the hub cards below to go directly to what you need.
Shop · B2B & B2C
Professional Tooth Gem Kits & Supplies Starter kits from $250, crystal tooth gems, LED curing lights, etch, bond, composite, applicators, and removal tools.Guide · Free PDF
Free Tooth Gem How-To Guide Complete application workflow, curing protocol, placement maps, aftercare handout, and removal guidance — written by David Hanna, RDH.How-To · Application
How to Apply Tooth Gems Full etch-bond-cure protocol, timing table, supply component breakdown, and step-by-step technique for trained providers.Designs · Style
Crystal Tooth Gem Designs & Style Ideas Single crystals, butterfly tooth gems, heart gems, bunny gems, cluster designs, and a size and placement comparison guide.Care · Retention
Tooth Gem Aftercare & Retention Tips What to protect in the first 24 hours, how to brush and floss safely, and how client habits directly affect how long tooth gems last.Removal · Safety
How to Remove Tooth Gems Safely When to remove, why DIY is not recommended, and how professionals release the bond and polish away residue without scratching enamel.Download the Free Tooth Gem How-To Guide
Get the complete tooth gem tutorial PDF with step-by-step application, tooth gem glue guidance, LED curing protocol, placement tips, client aftercare, and safe removal information. Written by David Hanna, RDH.
Free access. No purchase required. You may receive occasional professional tips from LaserGlow. Unsubscribe anytime.
Professional Tooth Gem Kits & Supplies
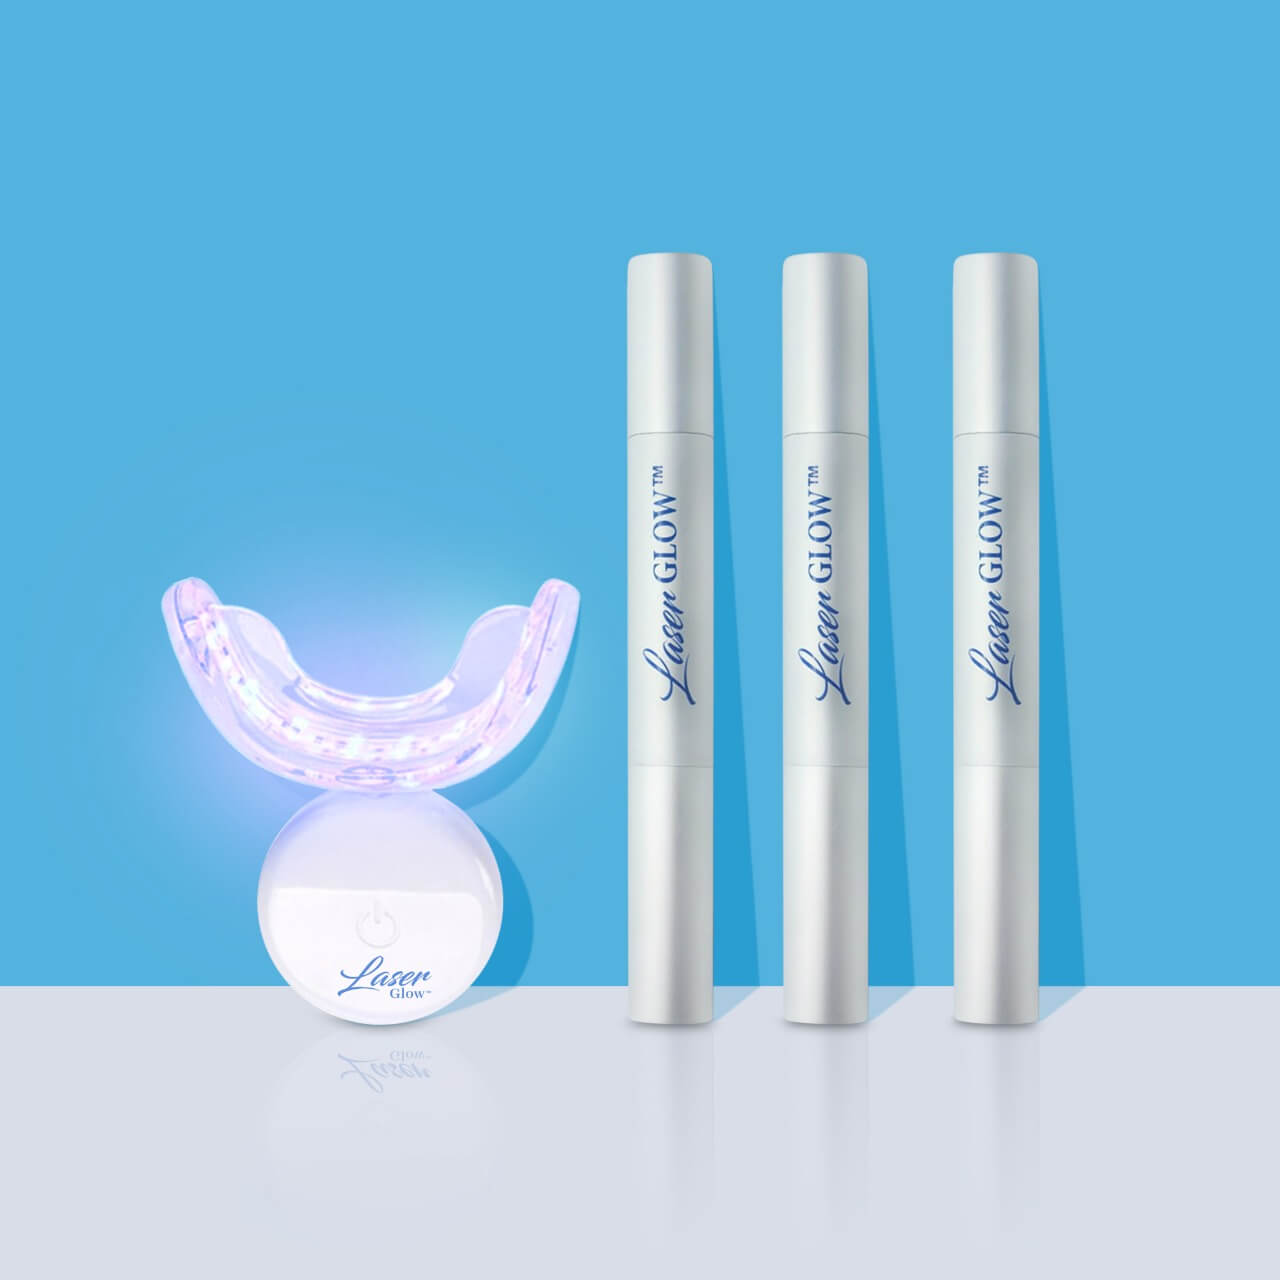
A complete professional tooth gem kit should include: etching gel, bonding agent, light-cure composite adhesive (tooth gem glue), flat-back crystal tooth gems, a wax applicator tool, and an LED curing light. Kits that bundle all these components eliminate compatibility risk — mismatched materials are a leading cause of early bond failure.
How Tooth Gem Application Works
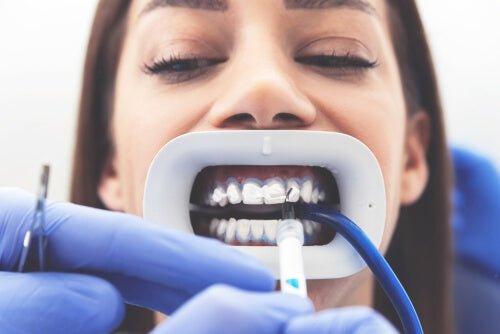
Professional tooth gem application follows a six-step bonding sequence. Every step builds on the last — a clean, dry, properly etched field leads to better adhesive control and more reliable curing. The most common cause of early bond failure is moisture contamination before etching, or shortcutting the etch time so the enamel surface is not properly prepared.
- Clean and isolate — keep the field completely dry throughout
- Etch for 15–20 seconds, rinse, and dry to a chalky matte surface
- Apply a thin bond coat and cure with an LED light for 10–20 seconds
- Apply a pinhead amount of tooth gem glue and place the crystal using a wax applicator
- Cure from multiple angles for 20–40 seconds total
- Check margins, confirm retention, and review aftercare before the client leaves
Tooth Gem Aftercare
The first 24 hours after placement are an important window for protecting the new application. Give every client written aftercare instructions at the end of the appointment.
- Avoid biting directly on the gem or pressing it with hard foods or fingernails
- Brush gently around the gem twice daily and do not scrub at the placement margins
- Floss carefully around the gem base without snapping the floss against the composite
- Skip sticky, chewy, or hard foods for 24 hours after placement
- If the gem loosens, save it and contact the provider rather than trying to re-glue it at home
- Continue routine dental cleanings and tell the hygienist that a tooth gem is present
Professional Tooth Gem Removal
Tooth gems should be removed with controlled professional tools and techniques, not pried off at home. Correct removal releases the gem and removes remaining composite residue from the enamel surface without scratching the tooth. DIY removal using fingernails, sharp instruments, or uncontrolled force can damage enamel or fracture the gem.
Tooth Gem FAQs
Answers to common questions about crystal tooth gems, professional kits, enamel safety, longevity, brushing, removal, application, and starting a tooth gem business.
What are tooth gems?
Tooth gems are small flat-back crystals bonded to the outer enamel surface as cosmetic smile jewelry, with no drilling required. They are applied using an etch, bond, and light-cure composite system activated with an LED curing light. Tooth gems are semi-permanent and can be removed professionally.
Popular styles include single clear crystals, butterfly tooth gems, heart tooth gems, two-gem clusters, and colored accent gems. Read the complete first-timer tooth gem guide .
How long do tooth gems last?
Crystal tooth gems applied with professional materials commonly last several months, although exact retention varies. Longevity depends on placement, bonding technique, bite contact, diet, brushing habits, and whether the client picks at the gem.
Gems placed away from biting edges and heavy contact areas typically have better retention. Read the full tooth gem longevity guide .
Are tooth gems safe for enamel?
Tooth gems can be enamel-safe when applied using appropriate dental bonding materials, proper isolation, and correct technique, and when removed professionally. Major risks include household adhesives and uncontrolled DIY removal.
Tooth gems should never be attached using super glue, nail glue, eyelash glue, or other household adhesives. Read: Are Tooth Gems Safe?
How do tooth gems stay on?
Tooth gems stay on through a three-step bonding system. Etching prepares the enamel surface, bonding agent creates the adhesive interface, and light-cure composite secures the gem after it is activated with an LED curing light.
Each stage matters. Moisture contamination, incomplete surface preparation, excess composite, or incomplete curing can reduce retention. Read: How Do Tooth Gems Stay On?
What comes in a professional tooth gem kit?
A complete professional tooth gem kit includes etching gel, bonding agent, light-cure composite adhesive, flat-back crystal tooth gems, a wax applicator, isolation supplies, and an LED curing light. A training reference or practice model is also useful for beginners.
Shop individual components including the tooth gem glue kit , LED curing light , crystal tooth gems , and wax applicators .
What are the most popular tooth gem designs?
Popular designs include single clear crystals, colored crystal accents, butterfly tooth gems, heart tooth gems, two-gem pairs, and small clusters. Single crystals remain the most versatile choice for first-time clients.
View design examples, placement ideas, crystal shapes, and sizing guidance in the Tooth Gem Designs and Ideas Guide .
Can I brush my teeth with a tooth gem?
Yes. Brush twice daily with a soft-bristled toothbrush and clean gently around the gem margins. Avoid aggressive scrubbing directly against the gem, and floss carefully without snapping the floss against the composite.
Keeping the area around the gem clean helps reduce plaque buildup. Read the full Tooth Gem Aftercare and Safety Guide .
How are tooth gems removed?
Tooth gems should be removed by a trained dental professional or other appropriately qualified provider using controlled tools and polishing techniques. Home removal by prying or scraping can damage the enamel surface.
Read the complete Tooth Gem Removal Guide for professional steps and DIY risks.
Can I apply tooth gems at home?
Home tooth gem kits exist, but proper application requires appropriate dental-grade materials, a dry working field, careful isolation, correct bonding steps, and complete LED curing. Never use nail glue, super glue, or household adhesive on teeth.
Professional application is recommended for better isolation, cleaner margins, and safer placement. Download the free tooth gem how-to guide to understand the complete process.
How do I start a tooth gem business?
Starting a tooth gem business requires suitable training, professional bonding materials, an LED curing light, crystals, isolation supplies, client consent documents, aftercare instructions, appropriate sanitation procedures, and dependable inventory for restocking.
Practice on dental models before working on paying clients and confirm the professional and licensing rules that apply in your location. Explore the LaserGlow Tooth Gem Business Starter Kit .