Before you try anything at home, learn what not to do, when to see a pro, the typical costs, and simple aftercare tips. Then, if you want the clinical protocol, jump to our professional guide.
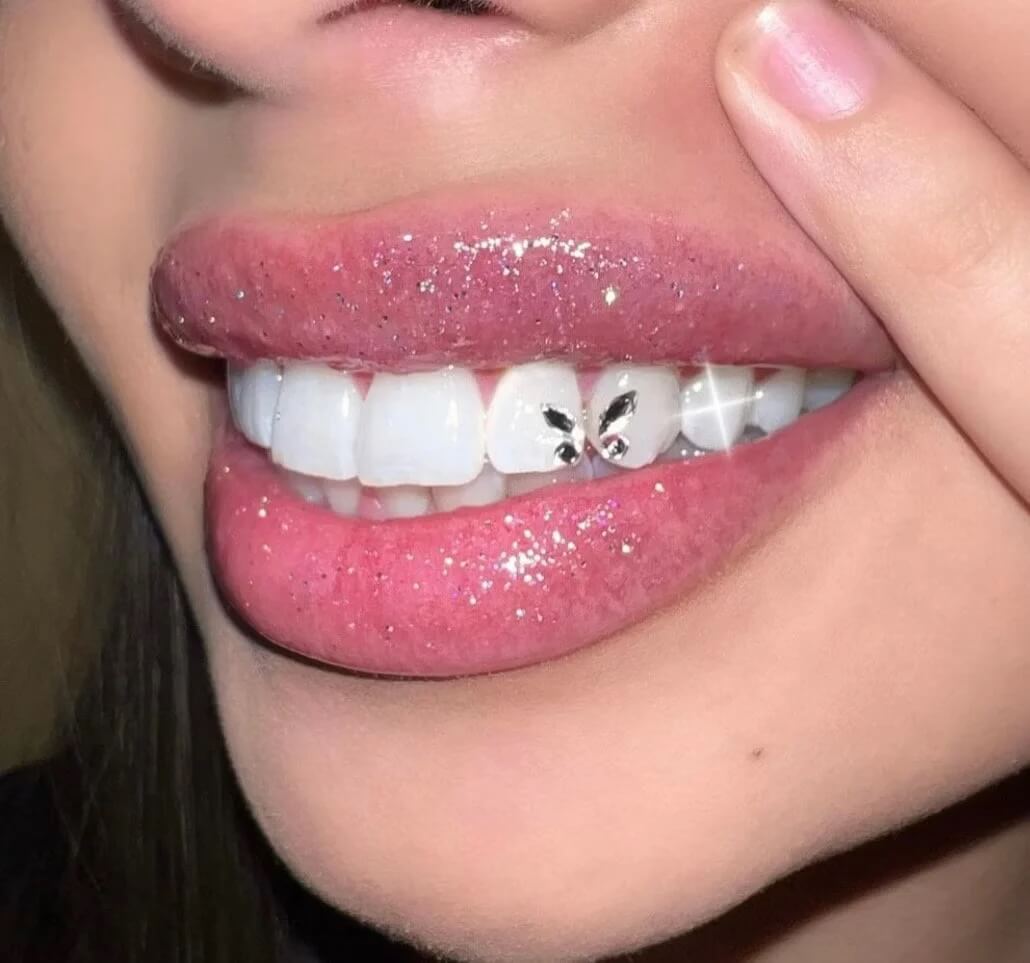
Tooth gems are fun, creative, and expressive — but what happens when you’re ready to take them off? Whether it’s the end of a trend, a job change, or you’re simply switching designs, knowing how to remove a tooth gem safely can save your enamel.
Bottom line: avoid DIY hacks. If you want the professional, step-by-step technique, see our Tooth Gem Removal Guide (clinical protocol used by pros).
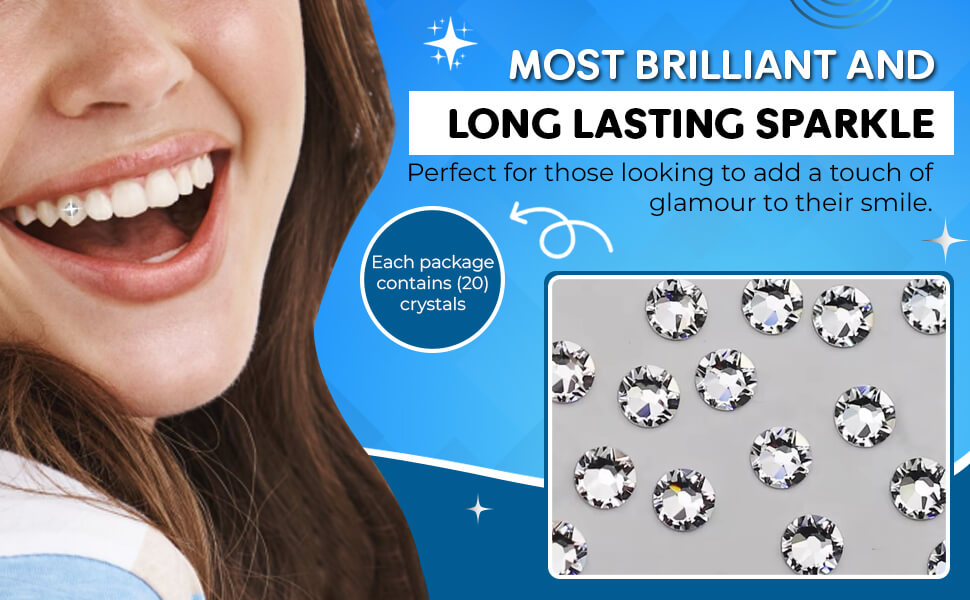
💎 Why People Remove Tooth Gems
- Switching to a new crystal or shaped design
- Adhesive has started to loosen over time
- Work or professional requirements
- Just ready for a fresh look
🛑 What Not to Do at Home
We’ve seen it all on social — tweezers, glue removers, nail files. These can chip enamel or leave rough surfaces that collect plaque.
- Never pry or yank with force
- Avoid acetone or harsh solvents
- Don’t grind or sand the gem yourself
⭐ When to See a Professional
Licensed providers can safely lift the gem and polish away the bonding resin without harming enamel. No drilling, no pain, no acids — just a clean, smooth finish.
Want the exact clinical steps (evaluation → edge lift → adhesive clean-up → polish)?
View the Professional Removal Guide →💰 How Much Does Professional Removal Cost?
On average, removal costs between $50–$150 depending on provider and location. Many offices (including ours) can reapply a new gem in the same visit.
Budgeting your sparkle? See Tooth Gem Cost in 2025.
🩵 Aftercare Once a Gem Is Removed
- Brush and floss gently for 24 hours
- If enamel feels rough, ask for a quick polish
- Wait ~1 week before applying a new gem
Want more expert tips on aftercare, longevity, and styles?
Explore the Tooth Gem Resource Hub →✨ Final Thought
Tooth gems should be as easy to remove as they are to love — just keep enamel health first. Leave removal to professionals and you’ll be ready for your next look, damage-free.