Tooth gems need to come off eventually — and how they're removed matters as much as how they're applied. This guide explains the professional removal process step by step: the correct tools, why DIY removal risks enamel damage, how adhesive residue is polished away, and when to refer a client to a dental professional.
Why How You Remove a Tooth Gem Matters
Tooth enamel is irreplaceable. It does not regenerate once damaged. A tooth gem applied correctly sits on the enamel surface — it is not embedded in it. That means removal, when done correctly, leaves the tooth intact. When done incorrectly — pried, picked, or pulled — it can fracture or scratch the enamel, leaving the tooth sensitive or permanently marked.
The good news: professional removal is straightforward when the right tools are used and the correct sequence is followed. The process is non-invasive, takes a few minutes, and leaves the enamel smooth and clean.
Why DIY Tooth Gem Removal Is Not Recommended
What clients try at home — and why it's risky
- Using a fingernail to pry — can chip enamel at the bonding edge
- Using a toothpick or hard object to lever the gem off — risks scratching or fracturing enamel
- Soaking in acetone or acetone-based products — not safe for oral tissue and doesn't reliably dissolve dental-grade adhesive
- Biting hard foods to dislodge it — unpredictable force can damage the gem site and surrounding enamel
What can go wrong with improper removal
- Enamel micro-fractures — invisible to the naked eye but detectable clinically
- Adhesive tearing with a fragment of enamel at the bond site
- Rough or pitted surface where the gem sat — especially if forceful tools are used
- Tooth sensitivity after aggressive removal attempts on the labial surface
The Professional Tooth Gem Removal Process
Professional removal follows a controlled sequence that releases the adhesive bond without applying destructive force to the enamel surface. The process is typically completed in under ten minutes by a trained provider.
Tooth Gem Removal: At a Glance
| Method | Safe? | Risk Level | Notes |
|---|---|---|---|
| Professional removal (correct instrument) | ✓ Yes | Minimal | Controlled lateral release, residue polished, surface finished. Recommended. |
| Fingernail or prying at home | ✕ No | Moderate–High | Risk of enamel chip at the bond edge. Unpredictable force direction. |
| Toothpick or hard object | ✕ No | High | High risk of enamel scratching and surface damage around the bond site. |
| Acetone or solvents orally | ✕ No | High | Not safe for oral tissue; dental-grade adhesives are not reliably dissolved by acetone. |
| Leaving a loose gem in place | ✕ No | Moderate | A partially lifted gem collects bacteria under the bond margin. Schedule removal promptly. |
When to Refer to a Dental Professional
Most standard tooth gem removal falls within the scope of a trained tooth gem provider. However, specific situations require referring the client to a licensed dentist or dental hygienist before or instead of provider-led removal.
Refer immediately if the client reports
- Tooth pain or sensitivity at the gem site that was not present before application
- Visible discoloration or staining of the enamel at or around the bond site
- Any rough, pitted, or "chalky" texture noticed at the gem site after a failed DIY removal attempt
- Swollen or irritated gum tissue around the gem site
Refer before removal if
- The client has existing enamel wear, cracks, or hypersensitivity noted on intake
- The gem was applied with an unknown adhesive or incorrect technique
- There are signs the adhesive may have migrated onto the gingival margin
- The client is under 16 or has any dental appliance nearby that could complicate removal
Removal Tools and What They Do
Using the correct instrument makes the difference between a clean, five-minute removal and a stressful situation that risks enamel. These are the tools that matter in the removal workflow.
Removal instruments
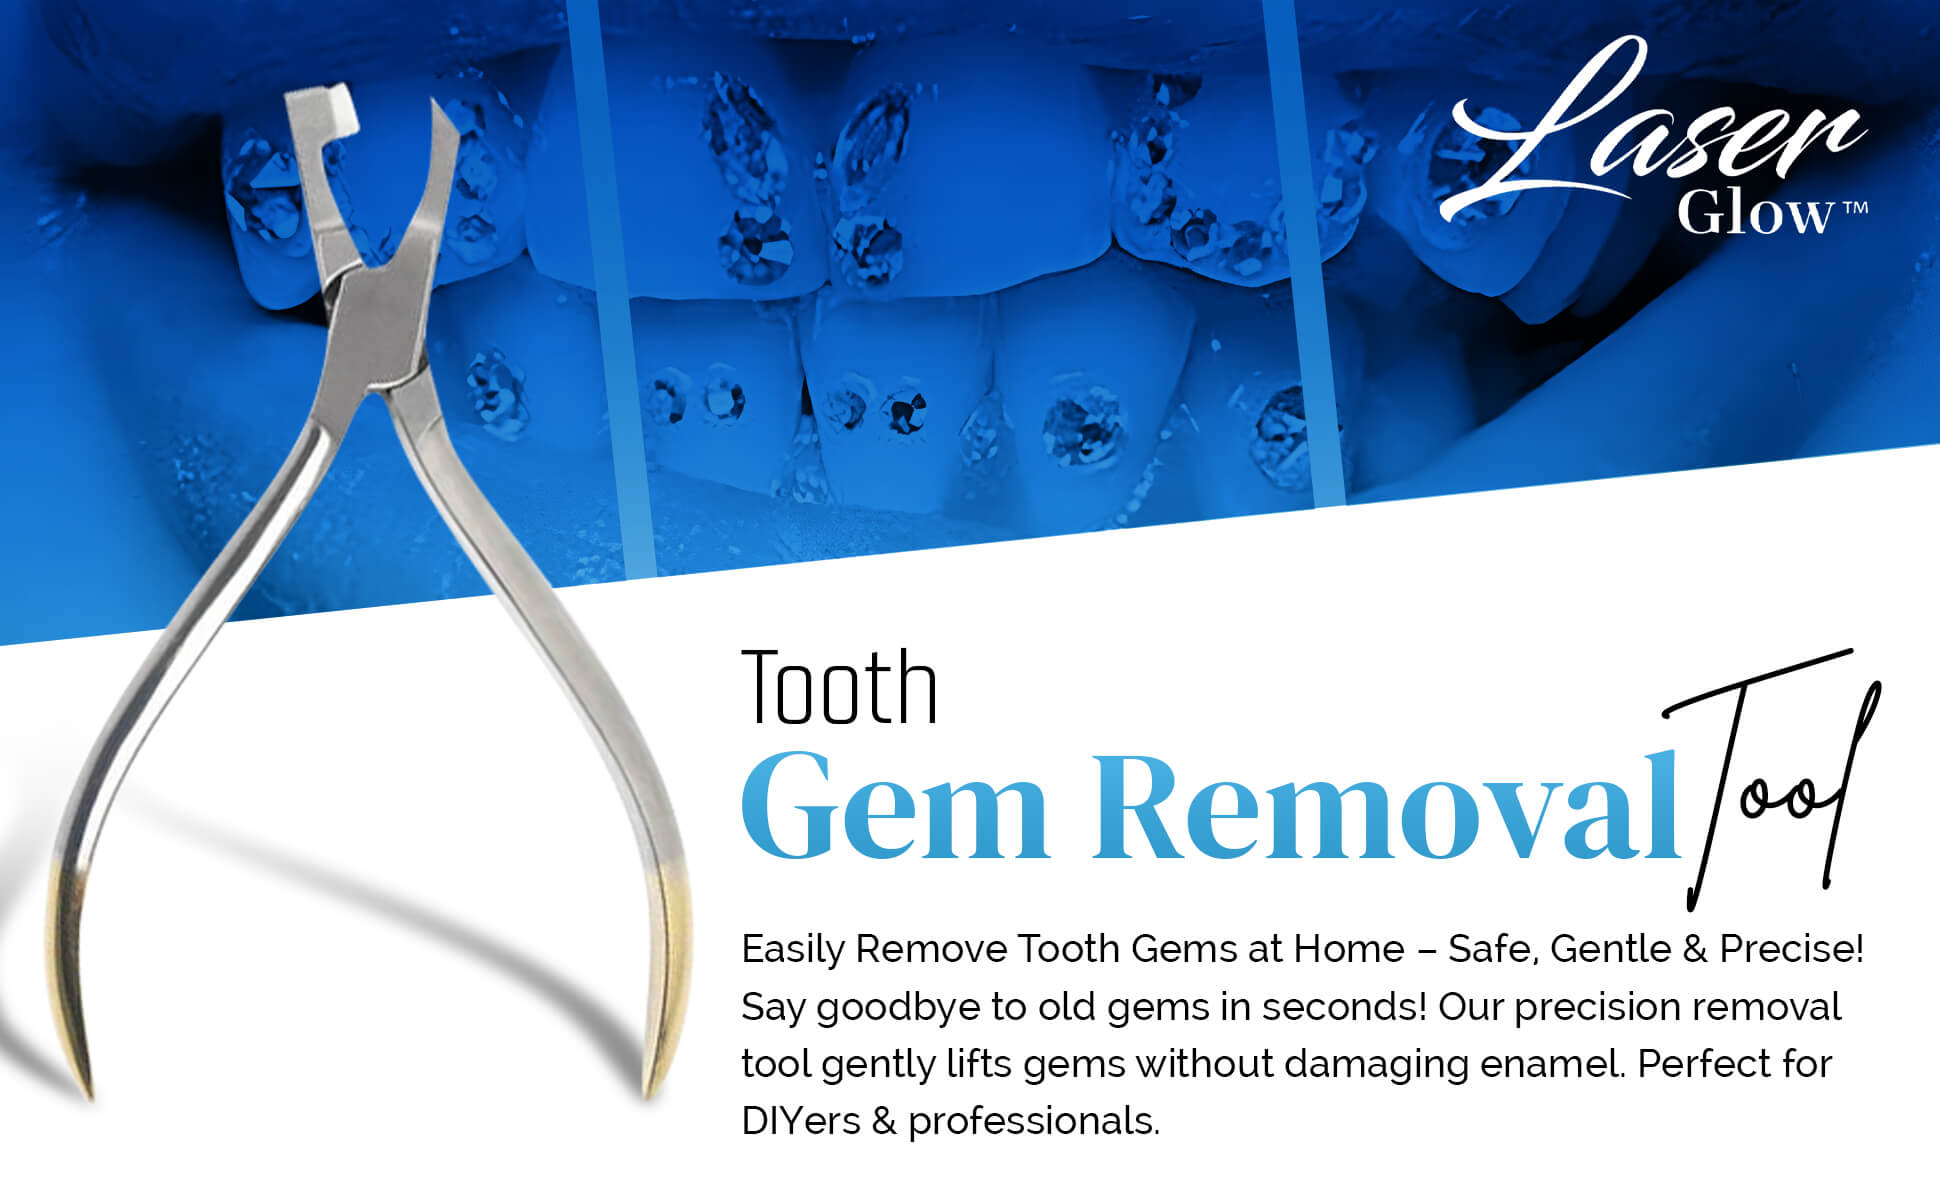
- Tooth gem removal tool — designed to apply controlled lateral force at the bond base. The correct angle (sideways, not upward) is critical.
- Scaler or bonding instrument (for trained providers) — for adhesive residue at the bond margin after the gem is off.
- Soft-tissue retractor — keeps the field clear and protects the lip during the procedure.
Polishing and finishing
- Fine polishing cup or point — removes remaining adhesive and returns enamel to a smooth, clean finish.
- Prophy paste (fine grit) — the final step to restore a polished surface at the former gem site.
- Good lighting — essential for inspecting residue and enamel condition before and after polishing.
Tooth Gem Removal FAQ
8 questions covering DIY risk, pain, enamel damage, outcome, cost, rebonding, timing, and when to see a dentist.
Can I remove my tooth gem at home?
Professional removal is strongly recommended. Attempting to pry, pick, or force a tooth gem off at home risks enamel damage at the bond site — fingernails, toothpicks, and hard objects all apply unpredictable shear force that can chip or micro-fracture enamel. A trained provider can remove the gem and polish away adhesive residue in a few minutes without harming the tooth.
If a gem comes loose naturally and falls off on its own, save it and contact your provider rather than attempting to remove the remaining adhesive at home. Leftover composite is much easier for a professional to polish cleanly than adhesive that has been partially disturbed by home instruments.
Does tooth gem removal hurt?
No. When performed correctly with the right instrument and technique, professional tooth gem removal is quick and painless. There is no drilling and no anesthetic required. The gem releases with a brief lateral shearing action and the polishing step takes a few minutes. If you experience tooth sensitivity after removal, contact your dental provider.
Some clients report a brief pressure sensation when the adhesive bond releases — this is normal and not painful. What's not normal is any sharp pain during removal, which signals that the tool angle or force is incorrect and should stop immediately.
Does removing a tooth gem damage the enamel?
Correct professional removal does not damage enamel. The tooth gem sits on the enamel surface rather than embedded in it. The bonding agent is released with controlled lateral force, and any remaining adhesive residue is polished away gently. Enamel damage is only a risk with improper DIY removal — prying, picking, or using acetone.
The bonding process used for tooth gems is the same chemistry as orthodontic bracket attachment. Orthodontic brackets are removed from enamel routinely by dental professionals without damage. The same principle applies to tooth gems when the correct lateral release technique and polishing protocol are followed.
What happens to the tooth after a gem is removed?
After professional removal and polishing, the enamel surface should look and feel identical to the surrounding tooth. There is no permanent mark, indentation, or discoloration when removal is done correctly. The tooth returns to its natural appearance within a day as salivary remineralization continues at the formerly etched enamel site.
The etch step in the original bonding process creates minor temporary micro-roughness on the enamel surface. This reverses naturally over time as saliva's mineral content restores the surface — a process that begins immediately after removal and continues for days to weeks. No special aftercare is typically needed beyond normal oral hygiene.
How much does professional tooth gem removal cost?
Professional tooth gem removal typically costs $25–$75, depending on the provider, number of gems, and whether adhesive polishing is needed afterward. Some providers include removal in the original service fee; most price it separately. Single-gem removal at a trained tooth gem studio is usually at the lower end of this range.
At $29, the LaserGlow removal tool is designed for trained providers performing professional removal. For clients who have had their gem applied at a LaserGlow location or through a trained provider using LaserGlow materials, contact the studio directly about removal scheduling and pricing.
Can I get a new gem after removal?
Yes. Once the adhesive residue has been fully polished away and the enamel is smooth, a new gem can be applied to the same or a different position following the complete etch-bond-place-cure sequence. Allow the area to be fully clean and dry before starting a new application. Most providers rebond the same session or at the next appointment.
There is no minimum waiting period between removal and rebonding as long as the enamel site is clean, smooth, and shows no sensitivity. If the client experienced any sensitivity or if the original gem was applied with an unknown adhesive, have the site evaluated before rebonding to confirm the enamel is in good condition.
How long does professional tooth gem removal take?
Typically five to ten minutes for a single gem, including adhesive polishing and final inspection. Multiple gems or a gem applied with a thicker adhesive layer may take slightly longer. The process is fast and straightforward for a trained provider with the correct instrument — it does not require any drilling or anesthetic.
A partially lifted or loosened gem typically removes faster than a fully bonded gem in perfect condition. If a client comes in with a gem that has been partially dislodged for several days, the adhesive margin may have accumulated staining or biofilm that requires slightly more polishing time to clean away.
When should a client see a dentist about tooth gem removal?
Refer to a licensed dentist immediately if the client reports tooth pain or sensitivity at the gem site that was not present before application, visible discoloration or staining of the enamel around the bond site, or any rough, pitted, or chalky texture after a failed DIY removal attempt. Also refer before removal if the client has existing enamel wear, cracks, or if the gem was applied with an unknown adhesive.
These are indicators of possible enamel compromise that falls outside the scope of cosmetic provider removal. A dentist can assess whether the enamel has been affected and recommend the appropriate treatment before any further manipulation of the site. When in doubt, refer rather than attempt removal that risks making the situation worse.