Tooth Gem How-To Guide: Step-by-Step Tutorial & Free PDF | LaserGlow
Tooth Gem How-To Guide: Step-by-Step Tutorial & Free PDF
LaserGlow's free tooth gem tutorial covers exactly how to apply tooth gems step by step — surface prep, etching, bonding, crystal placement, LED curing, margin clean-up, and client aftercare. Whether you are a tooth gem artist setting up a professional service, an esthetician adding tooth gems to your menu, or a first-time buyer who wants to understand the full process, this guide is a clinical reference you can keep and share.
What's Inside the Free Tooth Gem Guide
A practical, clinic-ready reference covering the complete application process, the right tooth gem glue and supplies, client aftercare instructions, and safe professional removal. Written for professionals — but clear enough for anyone who wants to understand the full process before booking or attempting application.
- Surface prep → etch → bond → place → cure → seal
- Curing angles, timing cues, and margin control
- Isolation technique to protect soft tissue throughout
- Singles, pairs, clusters, and symmetry guidance
- Tooth position notes and alignment reference
- Before-and-after documentation checklist
- Client do's and don'ts for longer retention
- Re-bonding guidance — when and when not to
- Safe removal steps and when to refer to a dentist
- Which tooth gem glue to use and thin-film application
- Retractors, eyewear, isolation accessories
- Workflow setup and complete supply checklist
How to Apply Tooth Gems — Step by Step
Tooth gem application follows a clean bonding sequence. Each step builds on the last — a dry, properly etched field leads to better adhesive control and more reliable LED curing.
Tooth Gem Application — Protocol at a Glance
| Step | Goal | Timing | Key Notes |
|---|---|---|---|
| Prep | Clean, dry field | 30–60 s | Polish, rinse, isolate. No oils or fluoride directly before. |
| Etch | Enamel retention | ~20 s | Rinse thoroughly. Dry to chalky white surface. |
| Bond coat | Adhesive base | 10–20 s cure | Thin even layer — cure with LED before placing glue. |
| Apply glue | Tooth gem glue placement | — | Pinhead amount only. Verify gem alignment before curing. |
| Cure | Set the glue | 20–40 s | Multiple angles; protect soft tissue; confirm full set. |
| Finish | Margin clean-up | 10–20 s | Remove glue excess. No sharp edges. Check client comfort. |
Tooth Gem Aftercare
Give every client written aftercare instructions at the end of each appointment. The first 24 hours are the most critical window for retention.
- Avoid biting directly on the gem or pressing it with fingernails or hard foods
- Brush gently around the gem twice daily — avoid scrubbing at placement margins
- Floss carefully without snapping the floss against the gem base
- Skip sticky, chewy, or very hard foods for 24 hours after placement
- If the gem loosens, don't try to re-glue at home — contact your provider
- Continue dental cleanings and let the hygienist know a gem is present
Tooth Gem Removal
Tooth gems should be removed using controlled professional tools — not pried off at home. Correct removal uses a dental handpiece to lift the gem body, then polishing burs to clean composite glue residue from the enamel surface without scratching. Done correctly, the enamel feels the same as before the gem was applied.
If a gem comes loose unexpectedly, clients should save it and contact their provider rather than trying to remove remaining adhesive at home.
Download the Free Tooth Gem How-To Guide
Enter your email to receive the complete tooth gem tutorial PDF — step-by-step application, tooth gem glue reference, curing protocol, placement maps, client aftercare handout, and safe removal guidance. Reviewed by David Hanna, RDH.
No spam — just the guide and occasional tips for tooth gem providers. Unsubscribe anytime.
More Tooth Gem Resources from LaserGlow
Tooth Gem Tutorial FAQ
10 questions covering what people actually search before downloading a tooth gem guide — from step-by-step application and what glue to use, to how long it takes and how to avoid early pop-offs.
How do you apply tooth gems step by step?
Tooth gem application follows six steps: (1) clean and isolate the tooth; (2) etch enamel 15–20 seconds, rinse, dry to chalky matte; (3) apply bond coat and cure with LED 10–20 seconds; (4) apply a pinhead of tooth gem glue and place the crystal with a wax applicator; (5) cure from multiple angles 20–40 seconds; (6) check margins and review aftercare.
The most common failure point is the etch step — if the enamel still looks shiny rather than chalky after drying, the surface isn't properly prepped and the bond will underperform regardless of glue quality or curing time. For the detailed protocol with timing and curing angle guidance: Tooth Gem Application Guide.
What do you need to apply tooth gems?
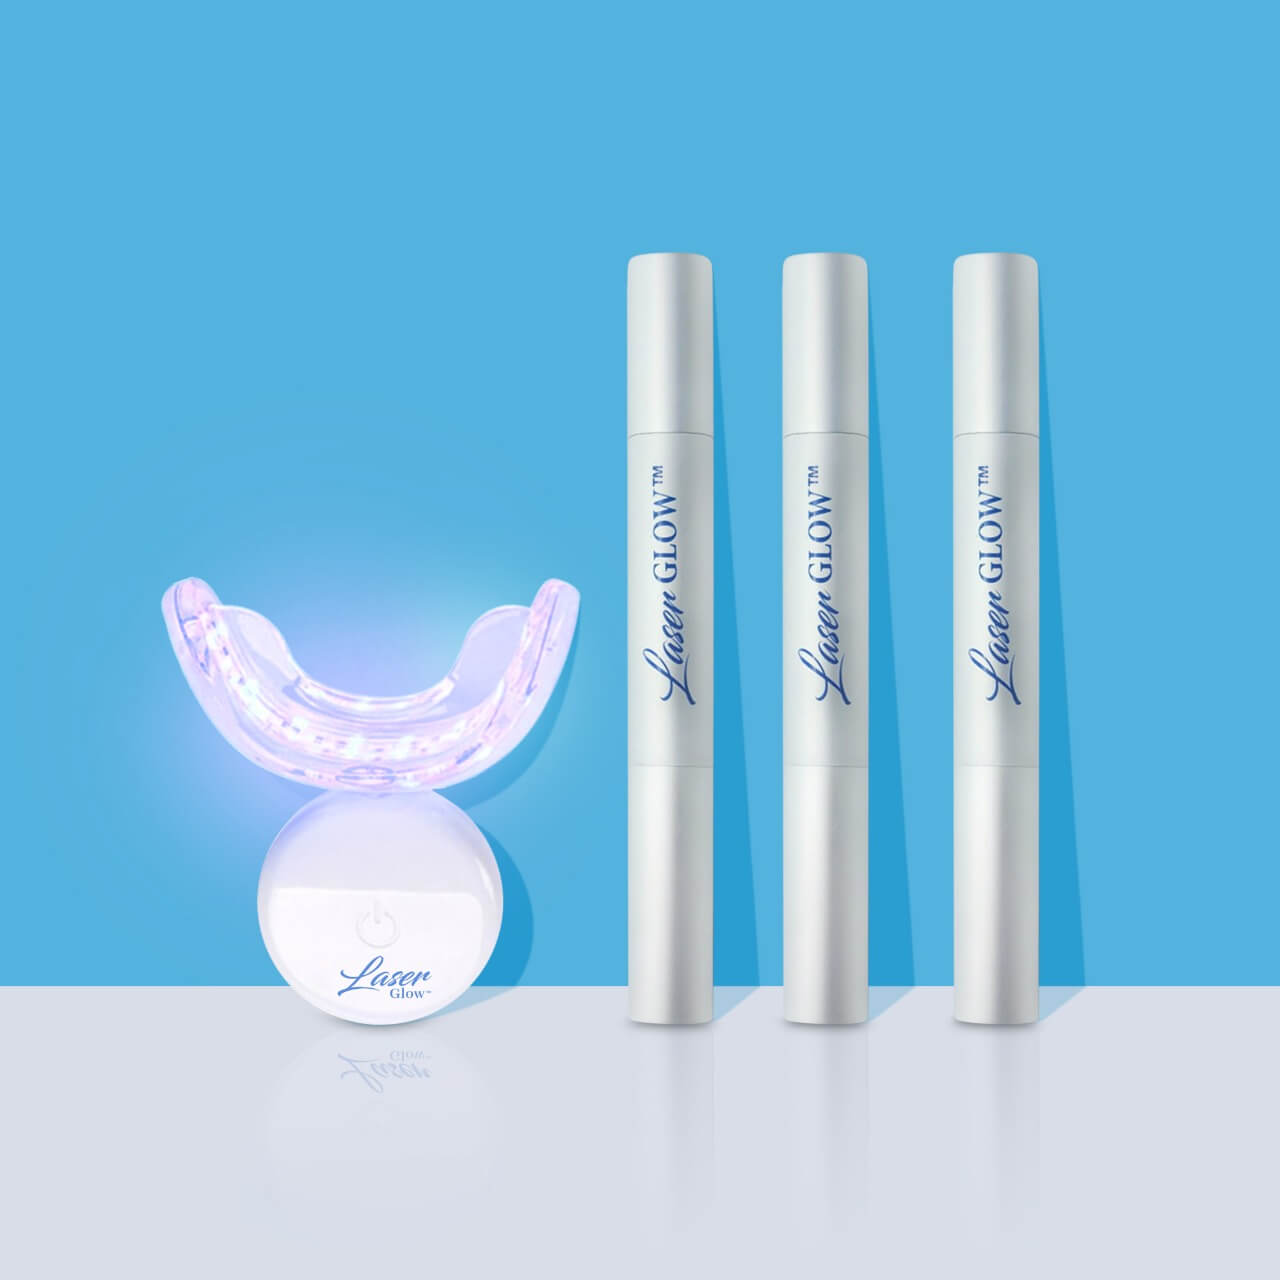
A complete tooth gem setup requires: (1) etching gel, (2) bonding agent, (3) light-cure composite adhesive (tooth gem glue), (4) flat-back crystal tooth gems, (5) an LED curing light, (6) a wax applicator tool, and (7) isolation accessories like cotton rolls or a cheek retractor. Never substitute household adhesives — they are not formulated for intraoral use.
The LaserGlow Business Starter Kit from $250 includes all core components plus a practice typodont and training guide. Individual components: glue kit ($60), LED curing light ($90), crystals ($40).
How long does tooth gem application take?
A standard tooth gem appointment takes 15–20 minutes per gem following the full etch-bond-cure protocol. The curing step itself takes 20–40 seconds, but prep, isolation, etch, and placement make up the majority of the time. First-time applicators typically take longer while developing technique and confidence.
Booking 30 minutes per client for the first several sessions gives comfortable working time without rushing any stage of the bonding sequence. With practice, experienced tooth gem artists can complete a single gem application in around 10–15 minutes including the final check and aftercare review.
What glue is used for tooth gems?
Tooth gem glue is a clear light-cure dental composite resin — part of a three-step bonding system with etching gel and bonding agent. It only sets when activated by an LED curing light; it does not air-dry or self-cure. Never use super glue, nail glue, or any household adhesive on teeth — these are not safe for intraoral use and make safe removal significantly harder.
For a complete breakdown of the bonding system, how much glue to use, and what causes early bond failure: Tooth Gem Application Guide.
How to do tooth gems at home?
At-home tooth gem application requires dental-grade etch, bond, and light-cure composite glue — not nail glue or super glue. Follow the complete six-step protocol, keep the field dry throughout, don't skip or shorten the etch step, use only a pinhead of glue, and cure from multiple angles for the full 20–40 seconds. Professional application is always recommended for best results and enamel safety.
Incomplete curing from one angle is the most common cause of early at-home pop-offs — and the hardest mistake to recognize because the gem feels set even when the composite under it hasn't fully polymerized. The free PDF guide explains every step in enough detail for an informed home attempt.
Is tooth gem application safe for enamel?
Yes — tooth gem application is enamel-safe when done with dental-grade materials and correct technique, and when gems are professionally removed rather than pried off. The etch step creates minor temporary micro-roughness that the enamel reverses naturally over time. The main risks are using non-dental adhesives and DIY removal with sharp tools or force.
This guide is reviewed by David Hanna, RDH, to ensure the enamel safety guidance, adhesive selection, and removal steps reflect responsible professional practice. Full safety guide: Are Tooth Gems Safe?
Can I learn tooth gems without formal training?
This free PDF guide explains the complete tooth gem application protocol in enough detail to learn the process. It covers every stage from prep to aftercare with timing cues, tool selection, and technique notes. However, hands-on practice on dental models before working on clients is strongly recommended — technique improves significantly with repetition on a typodont before real enamel contact.
Most successful tooth gem artists practice 10–15 applications on typodonts or dental models before seeing paying clients. The Business Starter Kit includes a practice typodont specifically for this purpose.
What's in the free tooth gem PDF guide?
The PDF covers the complete application sequence with timing cues, tooth gem glue and supply selection, placement maps, client aftercare handout (printable), and professional removal steps. It is reviewed by David Hanna, RDH, for enamel safety accuracy and designed to be a keep-and-use studio reference.
The guide is written for professionals — estheticians, whitening studios, salon owners, tooth gem artists — but explains every step clearly enough for informed DIY buyers who want to understand the full process. A purchase from LaserGlow is not required to access the guide.
Is the tooth gem guide really free?
Yes. Enter your email in the form above and the complete PDF is delivered instantly. You may receive occasional professional tips from LaserGlow — unsubscribe anytime with one click. No purchase required and no credit card needed to access the guide.
The guide is available to tooth gem professionals, salon owners, students, and consumers who want to understand the application process before booking or buying. It is a reference document, not a marketing funnel — the content covers the complete professional protocol as reviewed by David Hanna, RDH.
How do tooth gem beginners avoid early pop-offs?
The three most common causes of early tooth gem pop-offs are: moisture contamination before etching (keeping the field completely dry throughout is essential), insufficient etch time (enamel must look chalky white, not shiny, before bonding), and undercuring the LED light (cure from multiple angles for the full 20–40 seconds, not just one angle for 10 seconds).
Pop-offs within 24–48 hours almost always trace to one of these three issues. Pop-offs after 6+ months are normal longevity limits, not technique failures. Download the full guide for the complete troubleshooting checklist and best practices for consistent retention from the first appointment.