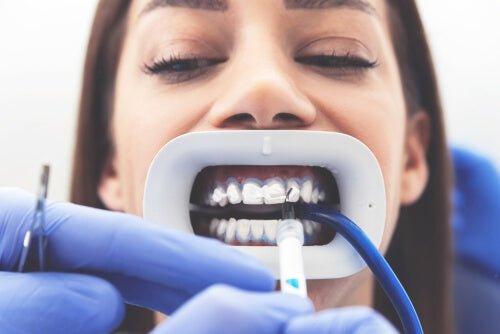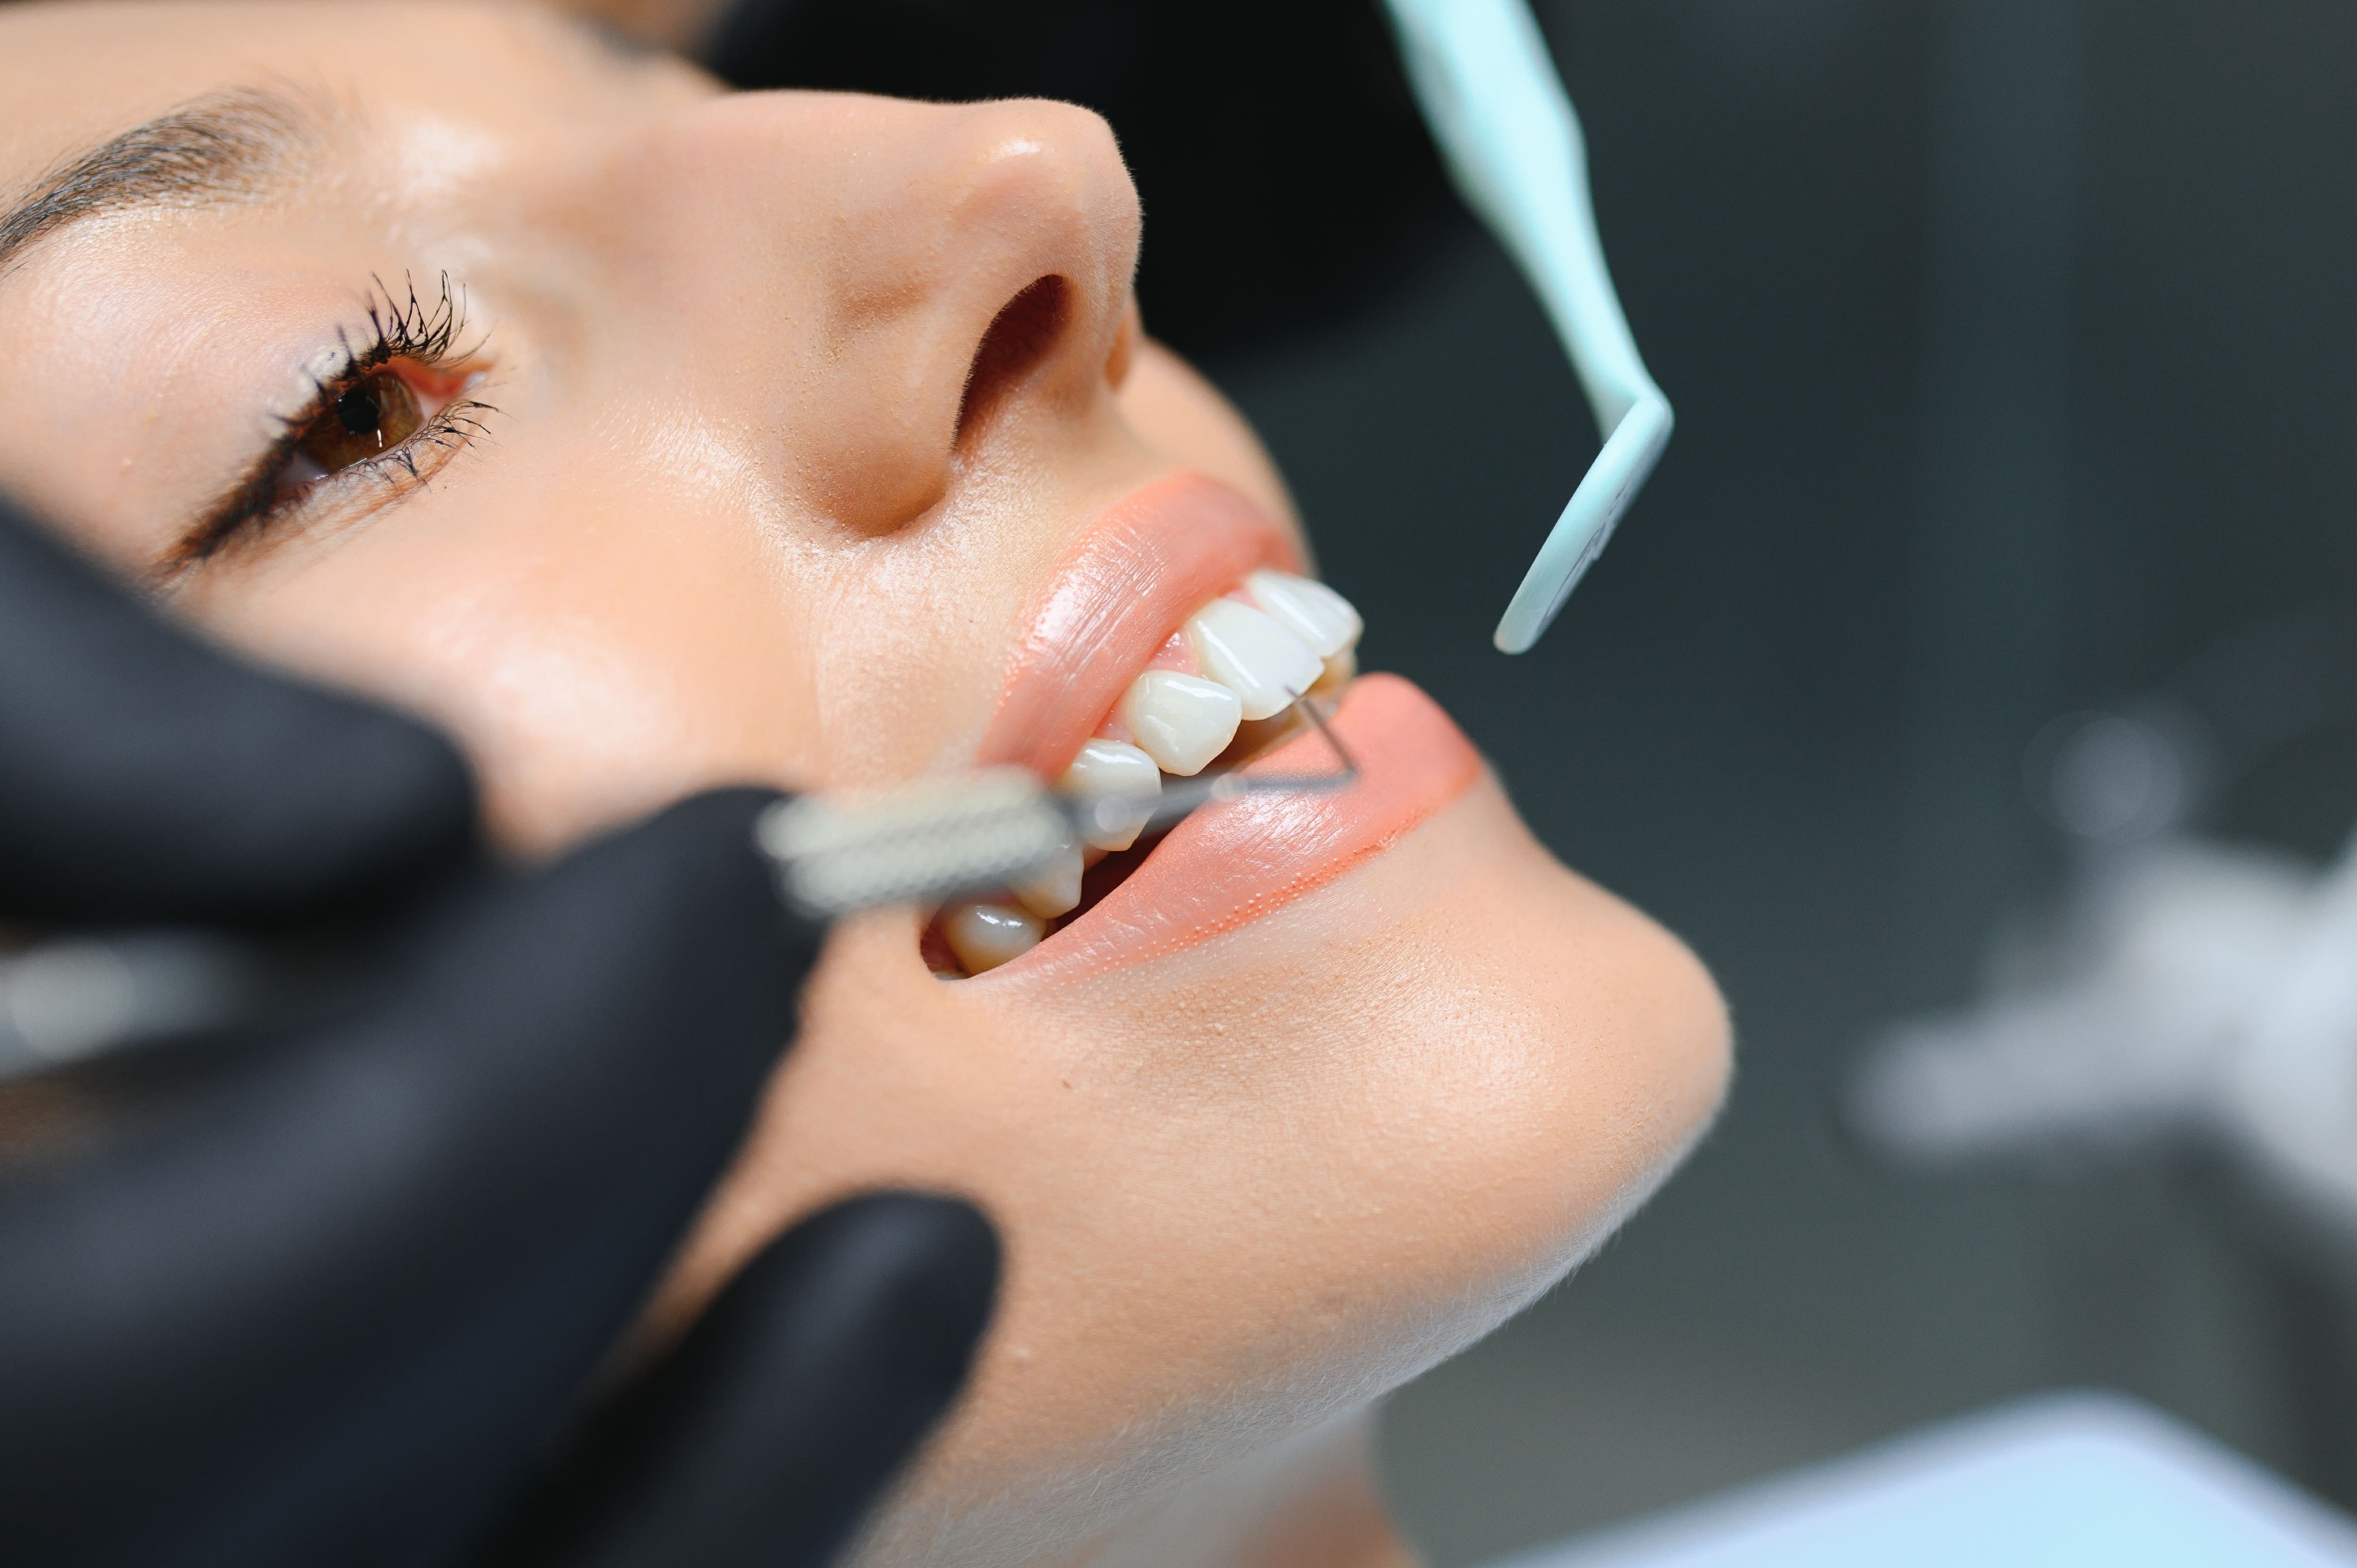
Tooth gems stay on through a dental-style bonding process. The tooth surface is cleaned and isolated, enamel is lightly etched, a bonding agent and tooth-safe adhesive are applied, the gem is placed, and an LED curing light hardens the bond. This guide explains the full bonding process, how long tooth gems last, what causes early failures, and how to remove them safely.
What Are Tooth Gems?
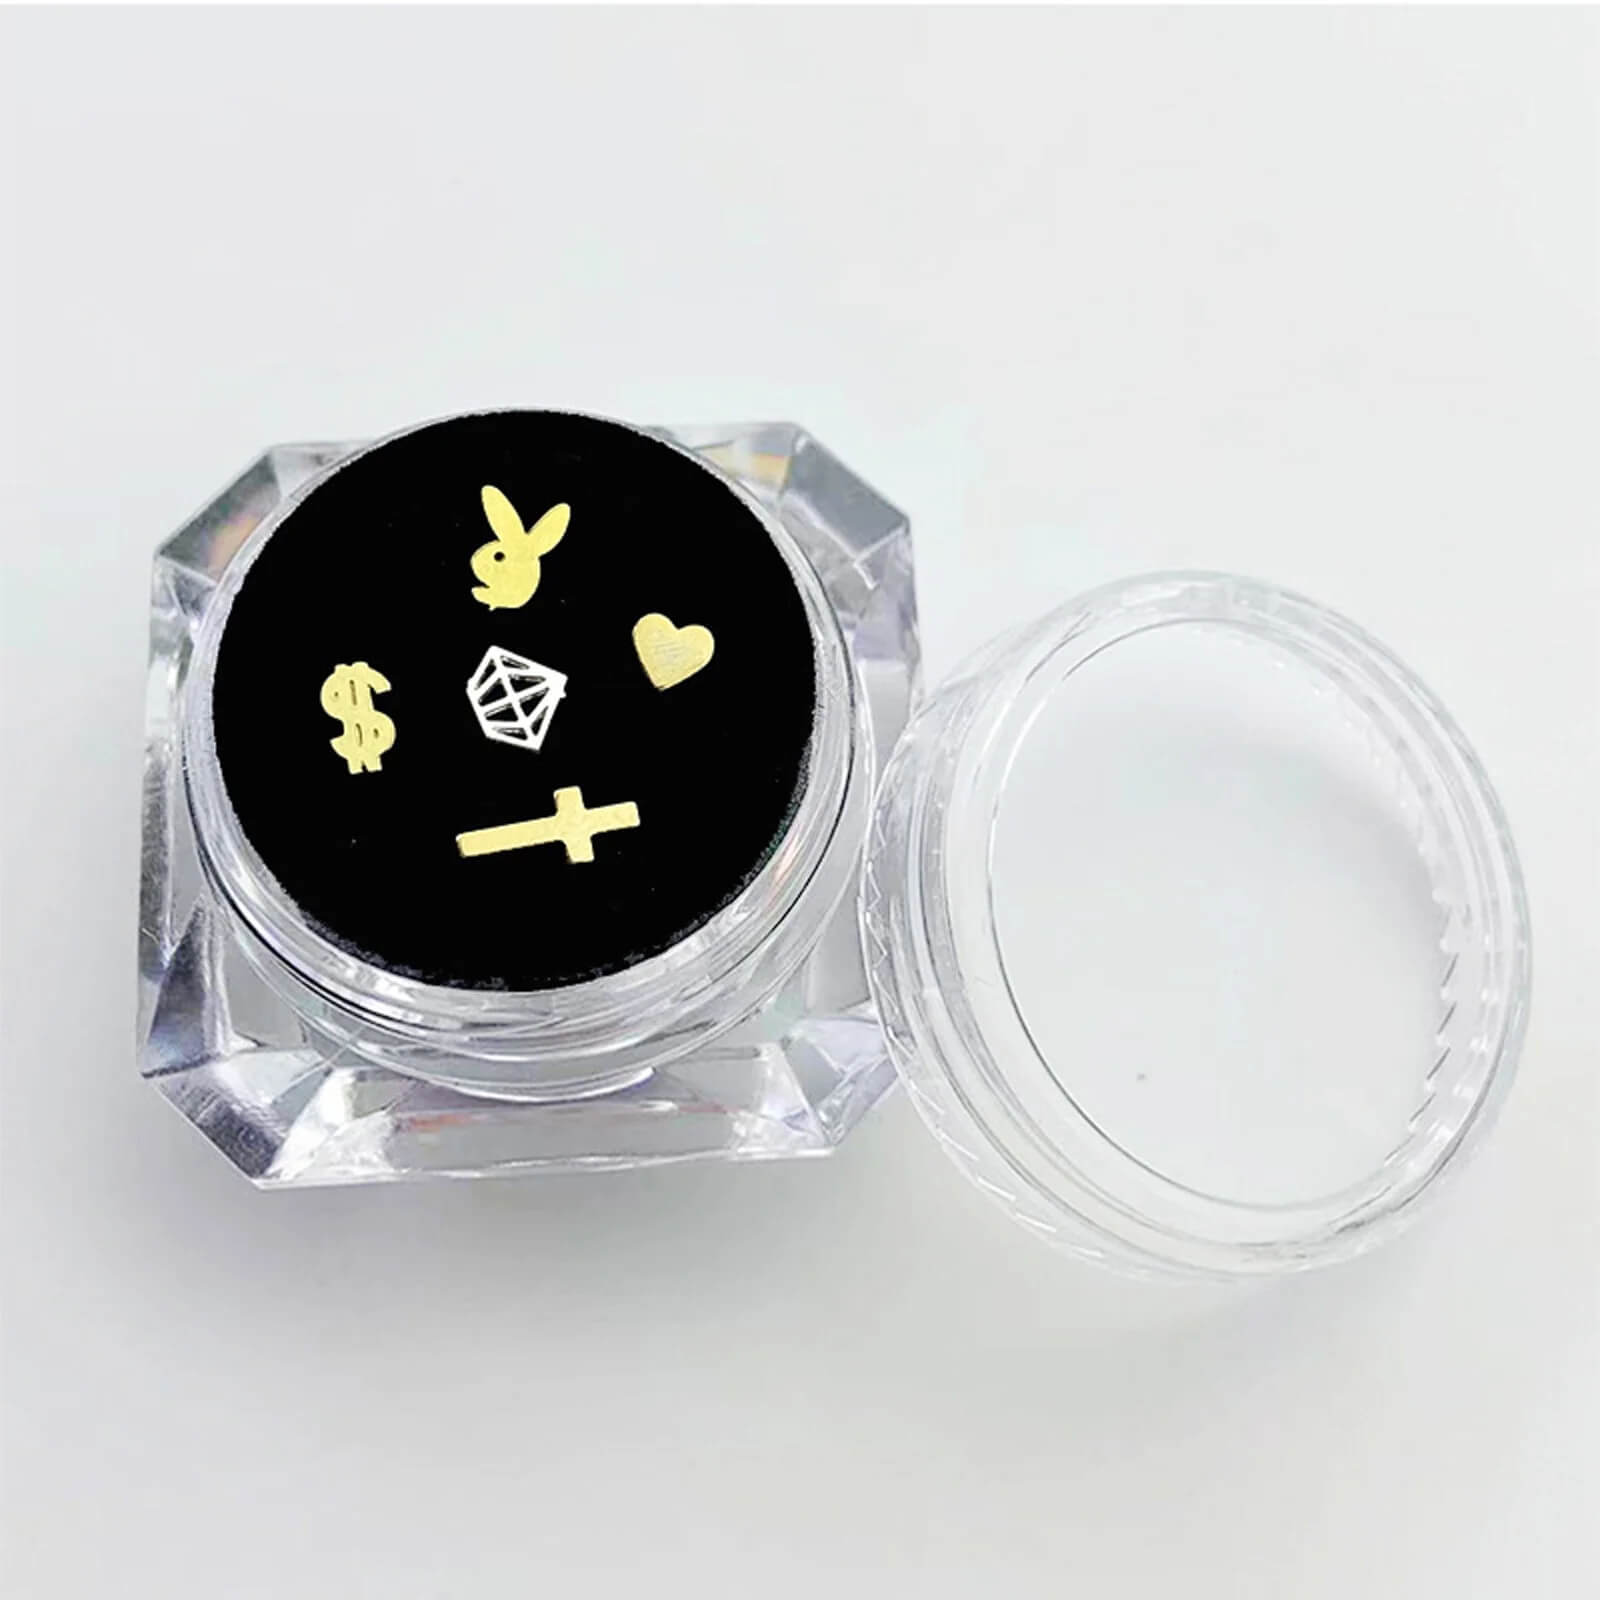
Tooth gems are small flat-back crystals, charms, or decorative designs bonded to the outer enamel surface as cosmetic smile jewelry. Common styles include single crystals, butterfly tooth gems, heart gems, gold foil accents, and custom cluster arrangements. They are semi-permanent and removable by a trained professional.
Best placement surface: Tooth gems bond best to smooth, healthy natural enamel. They are not recommended on crowns, veneers, or teeth with significant enamel wear.
How Tooth Gems Stay On Your Teeth
The bond strength comes from four things working together: enamel preparation, bonding agent, controlled adhesive placement, and full LED curing. Skip or rush any of these and the gem is more likely to fail early.
For the complete clinical walkthrough with curing timing and placement technique, see the tooth gem application guide and download the free professional tooth gem PDF guide.
How Long Do Tooth Gems Last?
With professional-grade materials and correct technique, tooth gems typically last 3–12 months, with some lasting longer depending on placement, oral habits, diet, and aftercare. The bonding system is the same concept as orthodontic bracket attachment — the gem doesn't last forever, but with good aftercare it can hold for months.
What affects longevity most:
- Adhesive quality: the bonding system matters more than the gem itself.
- Curing completeness: under-cured adhesive produces a weak bond even when everything else is done correctly.
- Oral habits: biting hard foods, chewing ice, nail-biting, or persistent tongue pressure shortens wear time.
- Placement surface: gems bond most durably on smooth, healthy, natural enamel — away from biting edges.
- Aftercare in the first 24–48 hours: sticky and hard foods during this window are the most common cause of early pop-offs.
Are Tooth Gems Safe for Enamel?
Yes — tooth gems can be enamel-safe when applied and removed correctly by a trained provider using tooth-safe materials. No drilling is required when placed on healthy natural enamel. The procedure uses the same bonding chemistry as orthodontic brackets.
The main risks are predictable and avoidable: non-dental adhesives, aggressive DIY removal, bonding over compromised enamel, and poor hygiene around the gem margins. Avoid those and tooth gems are a safe cosmetic service.
How to Make Tooth Gems Last Longer
The difference between a gem that lasts 6 weeks and one that lasts 6 months is usually technique and aftercare, not just the gem itself.
- Prep properly: clean, isolate, etch, rinse, and dry before bonding. Field isolation is the most skipped and most consequential step.
- Use a wax tip applicator: precise placement creates cleaner margins and avoids composite displacement during gem positioning.
- Cure completely: cure from multiple angles and do not rush this step. A single-angle 10-second cure is not complete curing.
- Protect the first 24 hours: avoid sticky, chewy, or hard foods and do not bite directly on the gem site.
- Keep the area clean: brush gently with a soft-bristled toothbrush around the gem margins and floss carefully — plaque at composite margins can accelerate bond loosening over time.
How to Remove a Tooth Gem Safely
Tooth gem removal should be performed by a trained professional using controlled polishing instruments — not by picking, prying, biting it off, or attempting home removal with sharp tools. A well-applied gem can be removed cleanly with the correct instruments without enamel damage.
After removal, the enamel surface is polished smooth to remove any composite residue. The goal is a surface that feels the same as before the gem was placed. DIY attempts using fingernails or sharp tools apply shear force to the bond site that can chip or micro-fracture enamel.
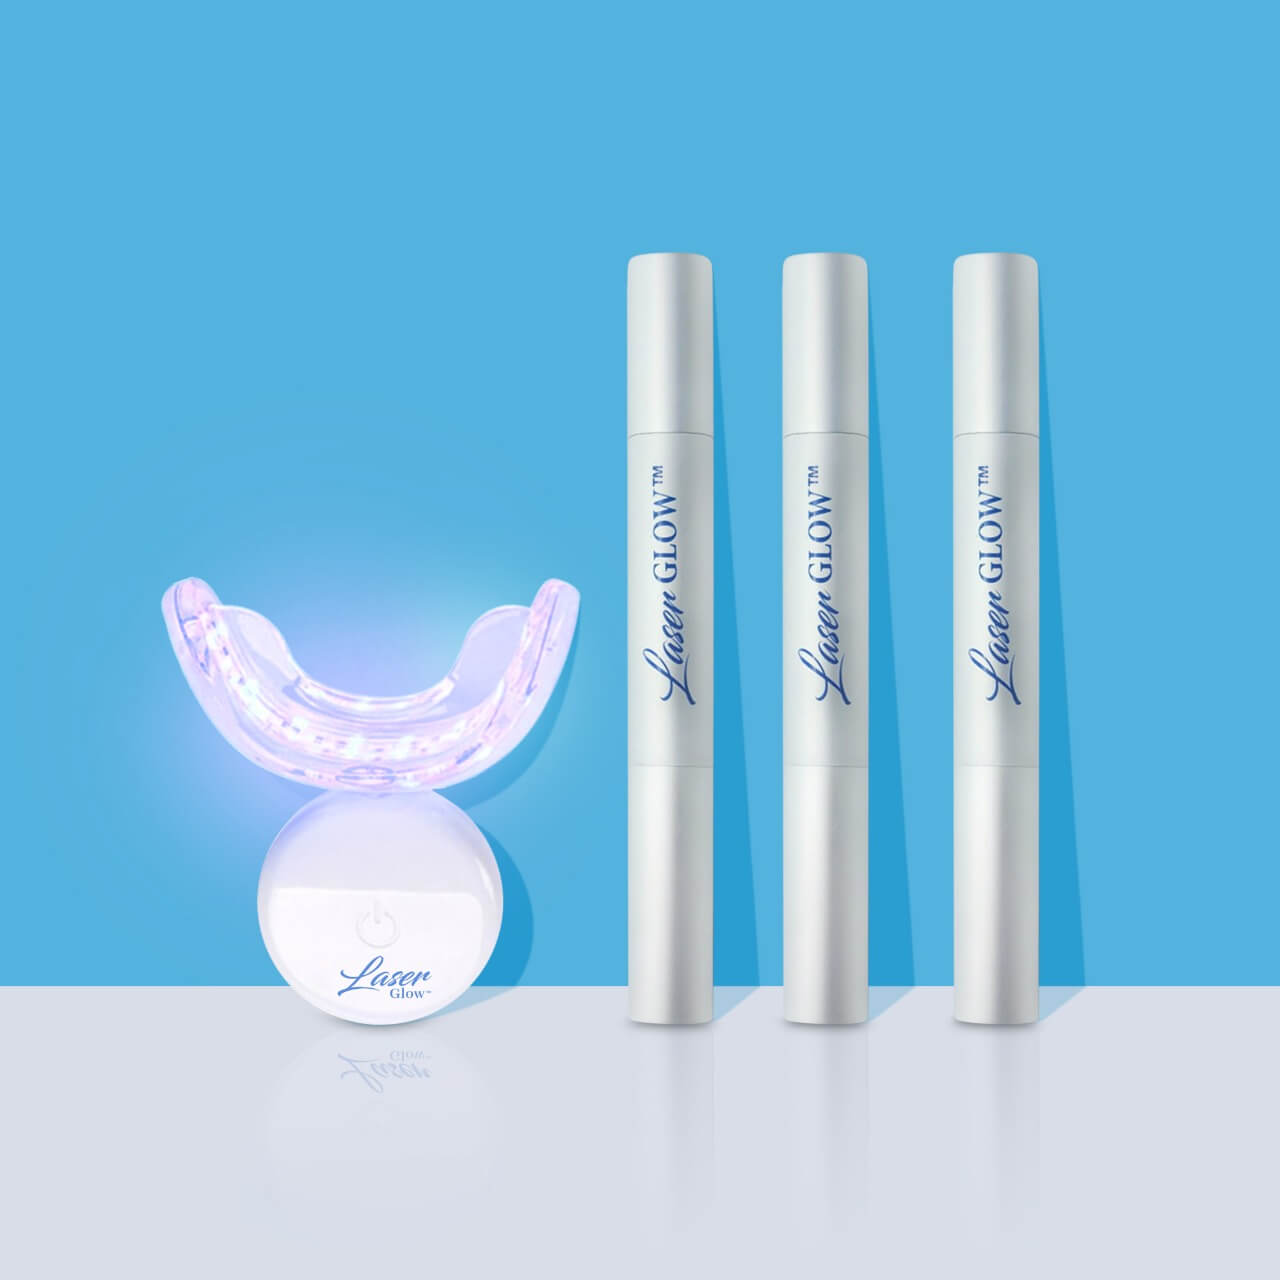
Professional Tooth Gem Toolkit
Consistent, enamel-conscious results come from using the right materials at every step. These are the core components of a complete professional setup.
Download the free professional PDF guide for step-by-step protocol, placement maps, aftercare handout, and removal guidance — reviewed by David Hanna, RDH.
Related Guides
Tooth Gem FAQ
8 questions covering the bonding process, permanence, early failures, DIY safety, eating, enamel damage, who should apply them, and where to buy supplies.
How do tooth gems bond to your teeth?
Tooth gems bond to enamel through a four-step process: (1) clean and isolate the tooth; (2) apply etching gel for 15–20 seconds, rinse, and dry to a chalky matte surface; (3) apply bonding agent and a small amount of light-cure composite adhesive, then position the gem; (4) cure from multiple angles with an LED light for 20–40 seconds.
The bond uses the same chemistry as orthodontic bracket attachment — mechanical adhesion created by micro-etching the enamel surface and filling those micro-pores with bonding resin and composite. This is why the etch step matters so much: if the enamel still looks shiny after drying rather than chalky white, the micro-retention isn't there and the bond will underperform regardless of how well the rest of the steps are executed.
Are tooth gems permanent?
No. Tooth gems are semi-permanent — they typically last several months with correct application and aftercare, and they can be removed professionally without damaging enamel when the right technique is used. The bonding composite can be polished away cleanly by a trained provider, leaving the enamel surface in the same condition as before the gem was applied.
Most clients wear a tooth gem for 3–12 months before having it removed or allowing it to detach naturally from bond fatigue. The gem can be rebonded after removal if the enamel surface is still in good condition.
Why do tooth gems fall off?
Early tooth gem pop-offs within 24–48 hours almost always trace to one of three causes: moisture contamination during etching, insufficient etch time (enamel must look chalky, not shiny), or incomplete LED curing from a single angle. Pop-offs after 6+ months are normal bond fatigue — not technique failures.
Ongoing habits also shorten gem life: biting hard foods on the gem, chewing ice, nail-biting, persistent tongue pressure, or picking at a loose margin. See the full longevity guide for a complete breakdown by scenario.
Can I apply tooth gems myself at home?
Professional application by a trained provider is strongly recommended. If applying at home, use only dental-grade etch, bond, and light-cure composite — never nail glue, super glue, eyelash glue, or any household adhesive. These are not formulated for intraoral use and make safe removal significantly harder. The LaserGlow Glue Kit ($60) provides the correct three-step dental bonding system for at-home or professional use.
The most challenging steps for home application are field isolation (keeping the tooth completely dry throughout), etch timing, and multi-angle LED curing. Each of these is manageable with practice and the right equipment — they're just harder to execute correctly without professional training and the controlled environment a studio provides.
Is it safe to eat with a tooth gem?
Yes, after the first 24–48 hours. During the first day, avoid sticky foods (caramel, gummy candy), very hard foods (ice, hard candy, nuts), and foods that require biting directly on the gem. After 48 hours, normal eating is fine with common-sense care: avoid biting directly on the gem and rinse after sticky or acidic foods.
The 24-hour rule exists because the composite bond interface is still reaching full mechanical strength even though the gem feels firmly set immediately after curing. The first day is also when the composite is most susceptible to displacement from physical stress before the final bond strength is established.
Can tooth gems damage your teeth?
Tooth gems applied and removed correctly with tooth-safe materials should not damage healthy enamel. The bonding process creates minor temporary micro-roughness that reverses naturally over time. The main damage risks come from: non-dental adhesives (super glue, nail glue), aggressive DIY removal with sharp tools, bonding over compromised enamel, and poor hygiene around gem margins.
Avoid those four factors and tooth gems are a cosmetically safe procedure. For a complete myth-busting breakdown of tooth gem safety claims, see Are Tooth Gems Safe?, reviewed by David Hanna, RDH.
Who should apply tooth gems professionally?
Tooth gems should be applied by trained providers who understand dental bonding materials, enamel safety, infection control, correct curing technique, client aftercare, and professional removal. Estheticians, salon professionals, whitening technicians, and dental professionals can all offer tooth gem services — what matters is proper training in the bonding protocol, not specifically which license they hold.
The most important signal of a qualified provider is whether they can explain their bonding system (etch, bond, composite, LED curing), show that they use dental-grade materials, and offer professional removal and aftercare guidance. A provider who can't explain the bonding process or who uses nail glue is not a qualified provider.
Where can I buy professional tooth gem supplies?
LaserGlow carries professional tooth gem kits, crystal tooth gems, etch, bond, light-cure composite adhesive, LED curing lights, wax applicators, and removal tools. The Business Starter Kit from $250 bundles everything needed for a complete professional tooth gem service setup. Individual components are also available for restocking.
Browse all tooth gem kits and supplies, start with the Business Starter Kit from $250, or buy individual components: glue kit ($60), LED curing light ($90), crystals ($40).