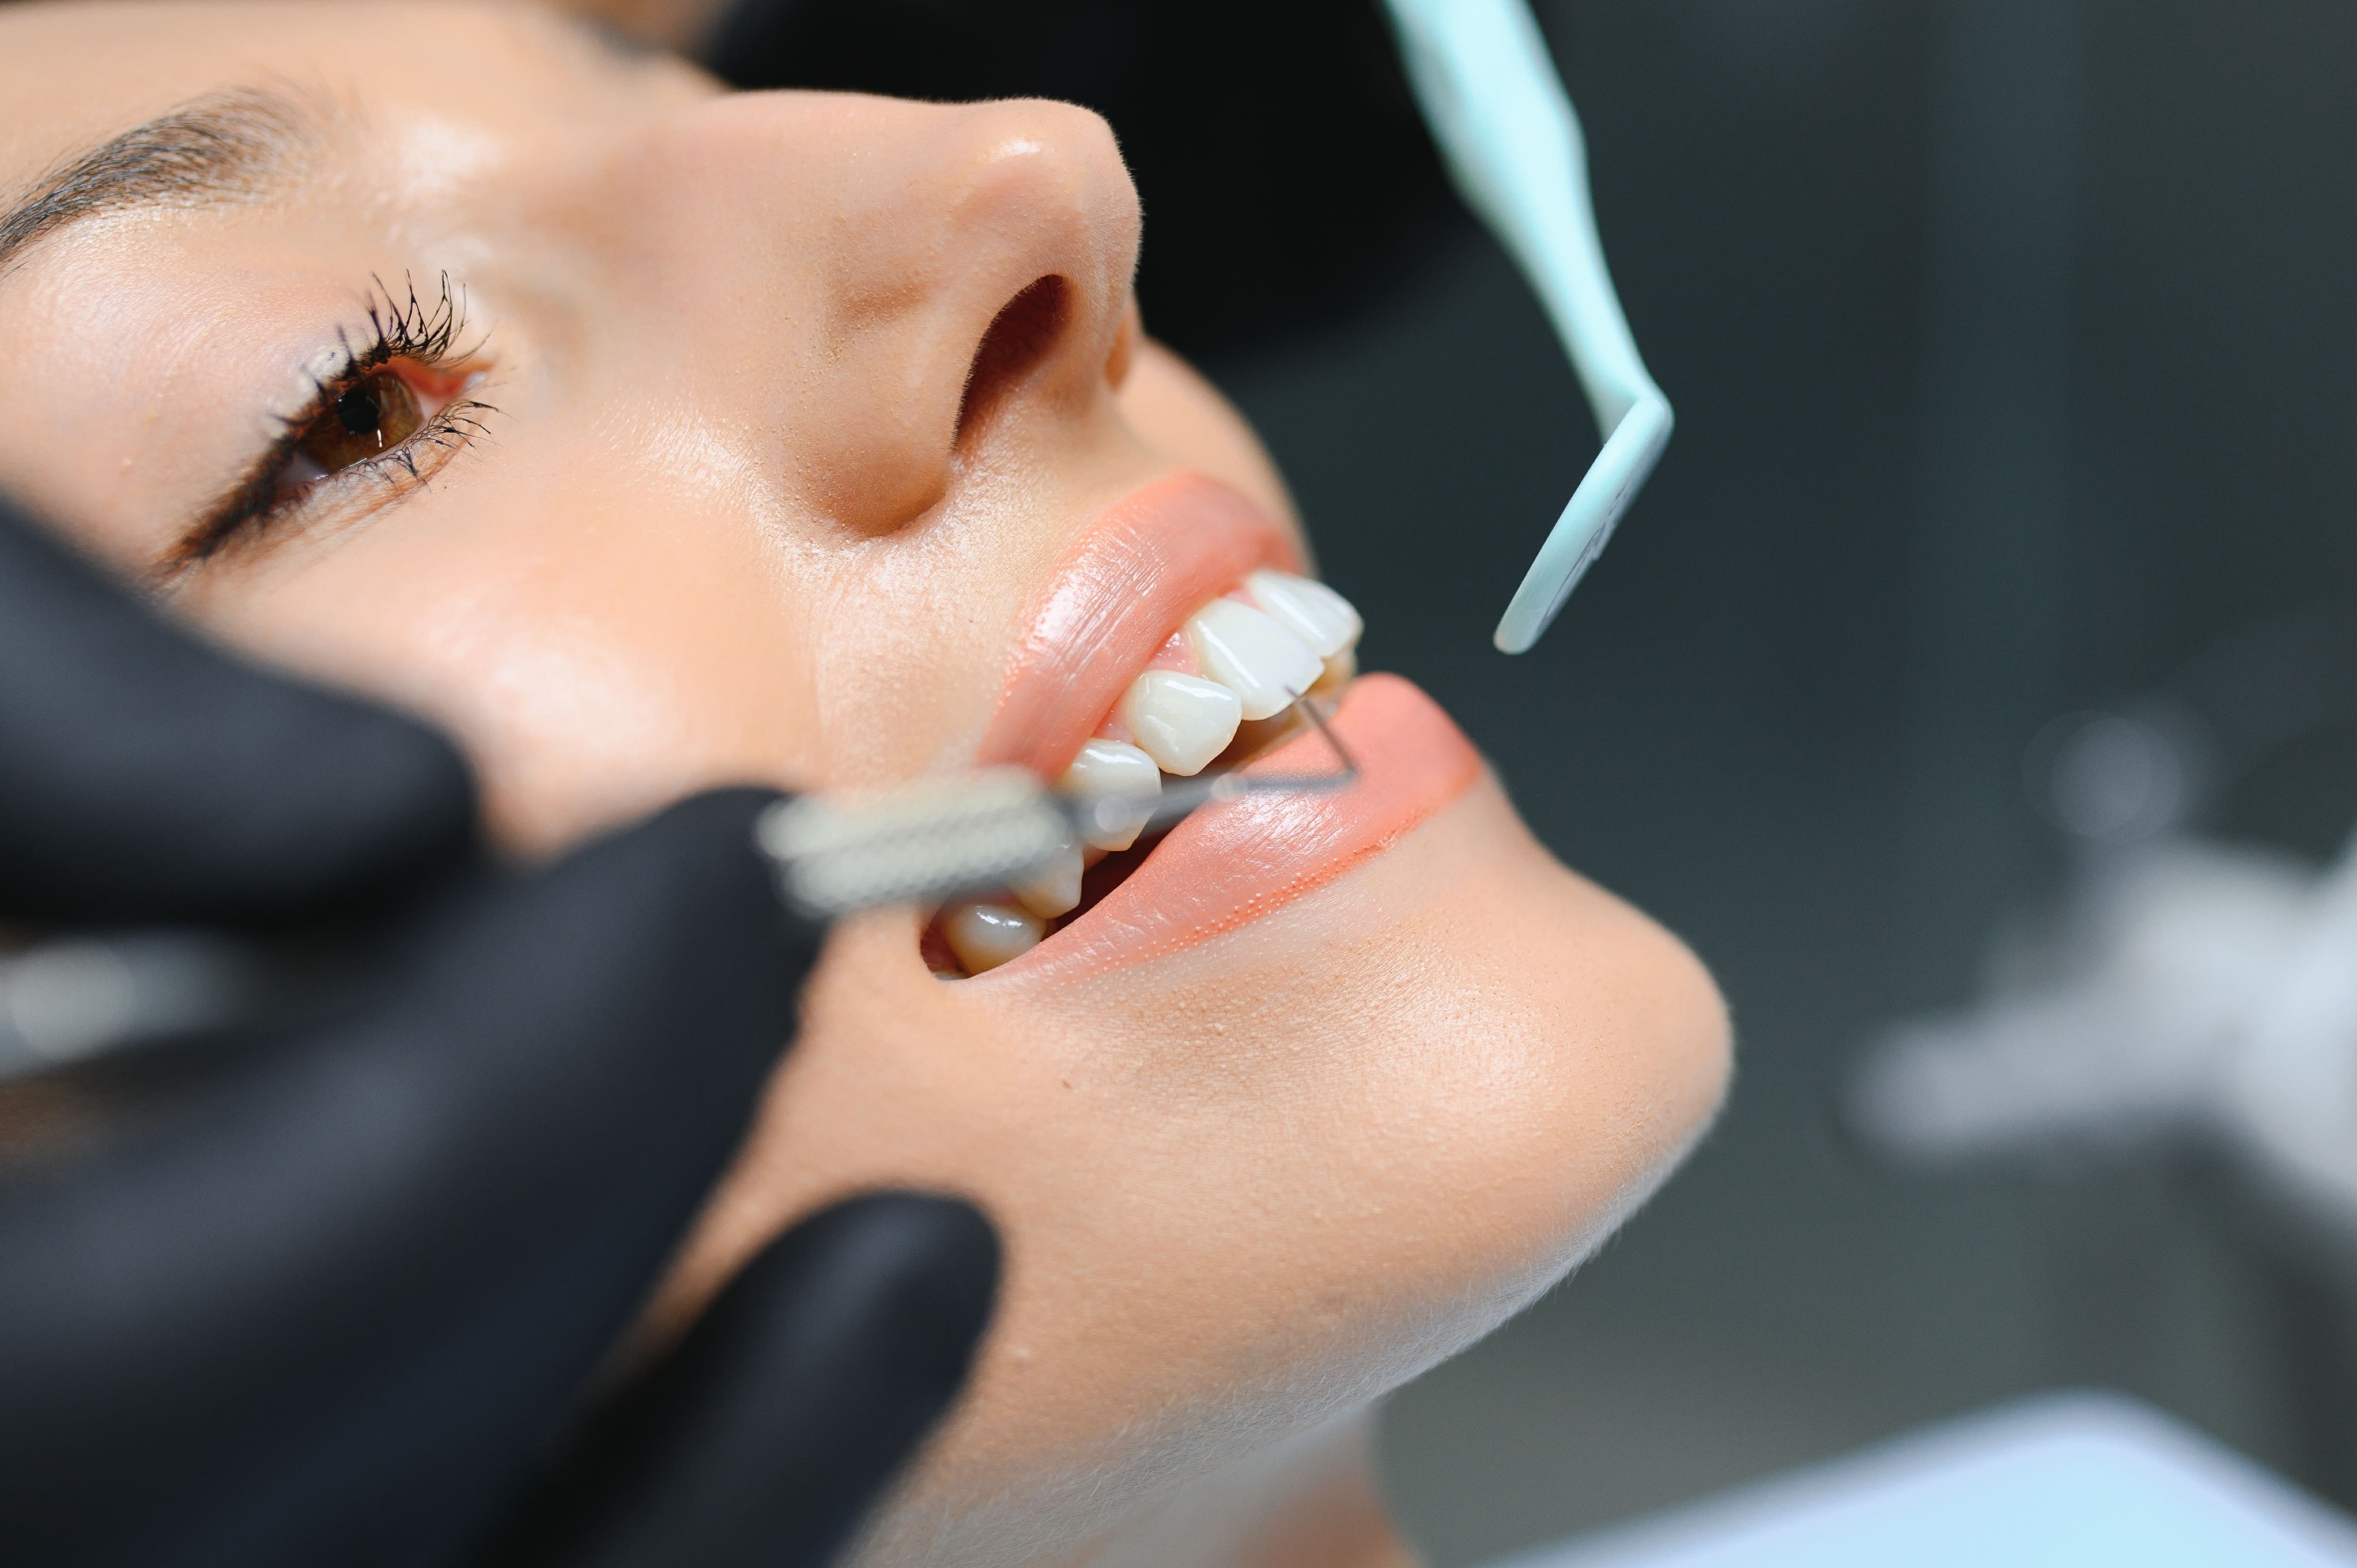
An LED curing light is one of the most important tools in a tooth gem setup. It hardens the light-cure bonding material that holds the gem to enamel — without it, the composite stays soft and the gem won't bond regardless of how clean the etch and placement were. The same curing light also polymerizes the gingival barrier gel used to protect soft tissue before whitening treatments, making it a genuinely dual-purpose professional tool.
Why an LED Curing Light Matters for Tooth Gem Applications
In tooth gem services, the curing light is not an optional accessory — it is the step that locks the bond. Light-cure composite (the tooth gem glue) remains permanently soft until activated by an LED light at the correct wavelength. A weak, under-powered, or poorly angled cure produces a bond that feels set but isn't, leading to pop-offs within 24–48 hours that look like bad placement but are actually bad curing.
A reliable LED curing light helps the bonding material polymerize more completely, which directly affects how long a tooth gem stays on and how clean the margins look after curing. It matters whether you are placing a single crystal or building a multi-gem cluster design using crystal tooth gems.
For a complete professional setup, the curing light works alongside the tooth gem glue kit (etch, bond, and composite adhesive) and placement tools. All three components have to be used correctly for consistent results — good gems and good glue with a poor cure still fail.
Why incomplete curing is the most common hidden cause of early pop-offs
Most early tooth gem failures within the first 24–48 hours trace to one of three causes: moisture contamination during etching, insufficient etch time, or incomplete curing. The first two are visible errors — enamel that still looks shiny instead of chalky tells you immediately that etching fell short. Incomplete curing is harder to detect because the composite feels firm to the touch on the surface even when the layers under the gem haven't fully polymerized.
The fix: cure for the full 20–40 seconds from multiple angles — not just one angle for 10 seconds. The LED must reach composite from the mesial, distal, and incisal directions to ensure complete polymerization through the entire gem footprint. See the tooth gem glue and bonding guide for the full step-by-step curing protocol.
Why Gingival Barrier Curing Matters Before Whitening Treatments
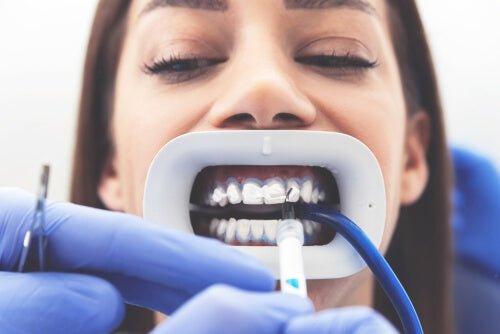
The same LED curing light is essential for professional whitening prep. Before whitening gel is applied, a light-cured gingival barrier gum protector gel is placed along the gumline to protect soft tissue from peroxide exposure. If the barrier material is not fully hardened, whitening gel can migrate underneath it during treatment and reach gum tissue — increasing the risk of irritation.
A dependable curing light hardens the barrier quickly and evenly so the protective seal holds throughout the whitening session. For whitening professionals, that means better control, cleaner prep, and a more secure treatment setup before gel is applied.
One tool for both workflows
Many professional providers offer more than one cosmetic service. The same LED curing light that sets tooth gem adhesive also cures gingival barrier resin — making it a practical dual-use tool for whitening studios, salons, med spas, tooth gem technicians, and dental offices that run both services. A cordless device that fits both workflows is easier to justify, easier to store, and eliminates the need for separate equipment for each procedure.
What to Look For in a Professional LED Curing Light
Not every LED curing light is designed for the workflows that tooth gem technicians and whitening professionals actually run. Here's what matters when evaluating options.
Cordless design
A cordless handpiece is easier to position, easier to maneuver during multi-angle curing, and more comfortable during repeated use in a fast-paced treatment setting. Cords get in the way during precise placement work — a cordless light eliminates that friction and improves workflow across every appointment.
Consistent light output
LED lights degrade over time with use and charging cycles. A light that delivers consistent output through the full cure window matters more than peak intensity on the first day. Look for lights with a charging base that maintains battery life predictably between clients.
Fit for intraoral use
The curing light tip needs to reach the enamel surface at the correct angle and distance for each gem placement — on upper laterals, canines, and centrals in various positions. A tip that is too wide, too short, or awkwardly angled makes multi-angle curing harder and increases the chance of incomplete polymerization.
Compatibility with cosmetic service workflows
The LED curing light should be selected as part of a complete compatible system. On LaserGlow, that means connecting it to the tooth gem glue and adhesive kit, crystal tooth gems, wax applicator tools, and the gingival barrier gel as a matched professional setup.
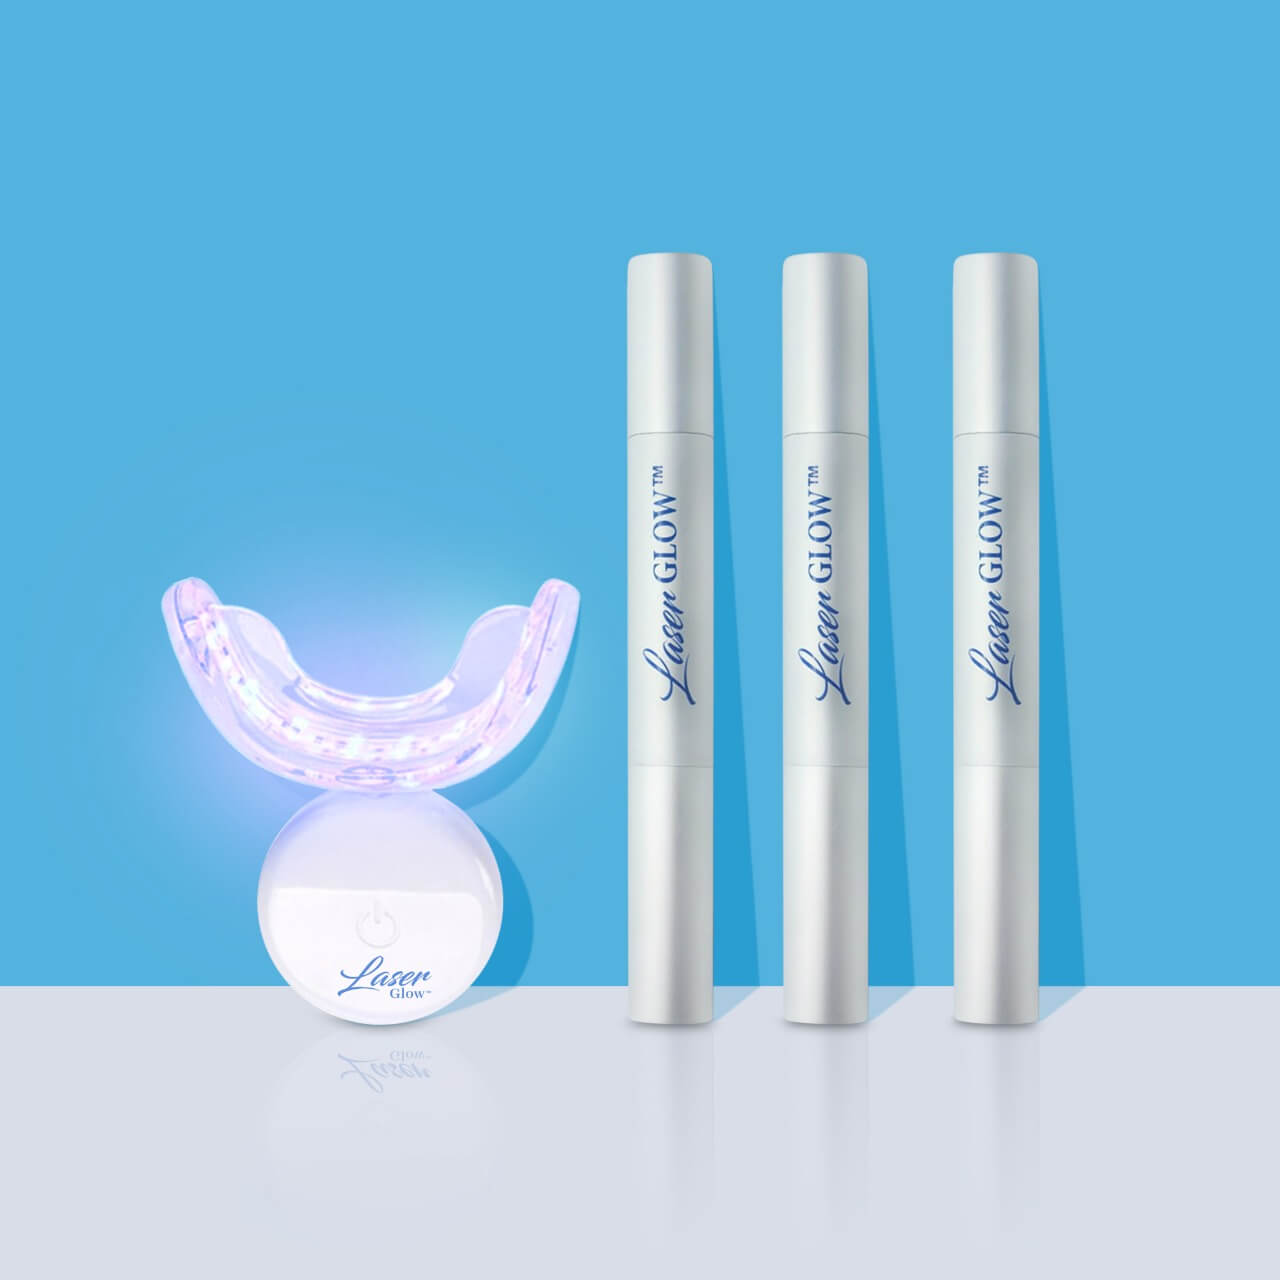
LaserGlow LED Curing Light — $90
Cordless professional LED curing device designed for tooth gem adhesive bonding and gingival barrier curing. Fast, consistent polymerization for tooth gem technicians, whitening specialists, and cosmetic service providers.
For a complete all-in-one professional tooth gem setup including the LED curing light, etch, bond, glue, crystals, wax applicators, and training guide, see the Tooth Gem Business Starter Kit from $250.
How Professionals Use an LED Curing Light in Tooth Gem Workflows
The curing light step comes after placement — but it needs to be executed correctly for the entire bonding sequence to hold. Here's how it fits into both tooth gem application and whitening prep.
For the complete tooth gem application protocol with precise curing timing at each step, see the tooth gem placement and tool guide and download the free professional PDF guide.
LED Curing Light FAQ
8 questions covering how LED curing works in tooth gem applications, how long to cure, what can go wrong, and how to choose the right device.
What is an LED curing light used for in tooth gem services?
An LED curing light hardens the light-cure composite adhesive (tooth gem glue) that bonds the gem to enamel. Without it, the composite stays permanently soft and the gem won't bond regardless of how clean the preparation and placement were. It is activated after the gem is positioned, locking the bond solid in 20–40 seconds.
The same LED curing light is also used to cure the bond coat layer before composite is placed, and to harden gingival barrier gel before whitening treatments. In a professional tooth gem setup, the LED curing light is the tool that makes the entire bonding system work — the etch and bond prepare the enamel, but the LED is what activates the glue.
How long should you cure tooth gems with an LED curing light?
Cure tooth gem composite for 20–40 seconds total, approached from multiple angles. The bond coat should be cured separately for 10–20 seconds before composite is placed. Curing from one angle for 10 seconds is one of the most common causes of early gem pop-offs — the composite feels firm on the surface but isn't fully polymerized underneath the gem.
The full curing sequence is: (1) cure bond coat 10–20 seconds, (2) flash-cure after gem placement to lock position, (3) full cure from mesial, distal, and incisal angles for 20–40 seconds total. The multi-angle approach ensures the LED reaches composite on all sides of the gem footprint, not just the visible face.
Can you use any LED curing light for tooth gems?
Not all LED curing lights are designed for tooth gem workflows. The device needs to fit comfortably in intraoral positions, deliver consistent output at the correct wavelength for dental composites, and allow multi-angle curing from mesial, distal, and incisal directions. Generic or low-output LED lights may not fully polymerize dental composite even with extended curing time.
The LaserGlow LED curing light is designed specifically for tooth gem adhesive bonding and gingival barrier curing, with a cordless handpiece suited for cosmetic service workflows. Using a device not built for these materials increases the risk of incomplete curing and early bond failure.
How do I know if my tooth gem is fully cured?
After curing, gently test the gem with a probe or instrument tip — there should be zero movement. Any wobble or give means the composite has not fully set and needs additional curing time from a different angle. A fully cured tooth gem feels firmly attached with no flex in any direction.
If the gem moves after what should have been a complete cure, do not release the client. Add another 10–15 seconds of LED exposure from an uncured angle, then test again. Releasing a client with an under-cured gem leads to pop-off within 24–48 hours — which looks like a bonding failure but is actually a curing failure.
Why do tooth gems fall off even after using an LED light?
The most common reasons a tooth gem falls off despite LED curing are: curing from only one angle (leaving under-cured composite under the gem), curing for too short a time, moisture contamination on the enamel before etching, insufficient etch time, or using a depleted LED battery with reduced output. All of these result in incomplete polymerization even when the surface appears cured.
Early pop-offs within 24–48 hours almost always trace to one of these issues. Pop-offs after 6+ months are natural bond longevity limits, not technique failures. If gems are consistently failing early, go back to the etch-bond-cure sequence and check each step — particularly field isolation and multi-angle curing.
Can the same LED curing light be used for both tooth gems and gingival barrier?
Yes. The LaserGlow LED curing light is designed for both tooth gem adhesive bonding and gingival barrier resin curing. The same LED wavelength that polymerizes dental composite also cures gingival barrier material — making it a practical dual-use device for whitening professionals who also offer tooth gem services.
This dual-use capability makes the LED curing light one of the highest-value tools in a combined whitening and tooth gem setup. Rather than separate devices for each workflow, one properly specified curing light supports both services efficiently.
What is a gingival barrier and why does it need to be cured with an LED light?
A gingival barrier is a light-cure resin material applied along the gumline before professional whitening treatments to protect soft tissue from peroxide gel. It must be cured with an LED light to harden into a protective seal — without curing, the material stays soft and whitening gel can migrate underneath it, reaching gum tissue and increasing the risk of irritation.
A fully cured gingival barrier holds its shape throughout the whitening session, keeping the peroxide gel contained to the tooth surface. Proper curing is what separates a professional whitening prep from an inadequate one — and the LED curing light is the step that makes the barrier work.
What products pair well with the LaserGlow LED curing light?
The LED curing light pairs with the tooth gem glue and adhesive kit (etch, bond, and composite), crystal tooth gems, wax applicator tools, and gingival barrier gel as part of a complete professional setup. All of these products are available individually or bundled in the Tooth Gem Business Starter Kit from $250.
For tooth gem services: tooth gem glue kit ($60), crystal tooth gems ($40), wax applicators ($22). For whitening prep: gingival barrier gel. For a complete business setup: Business Starter Kit from $250.