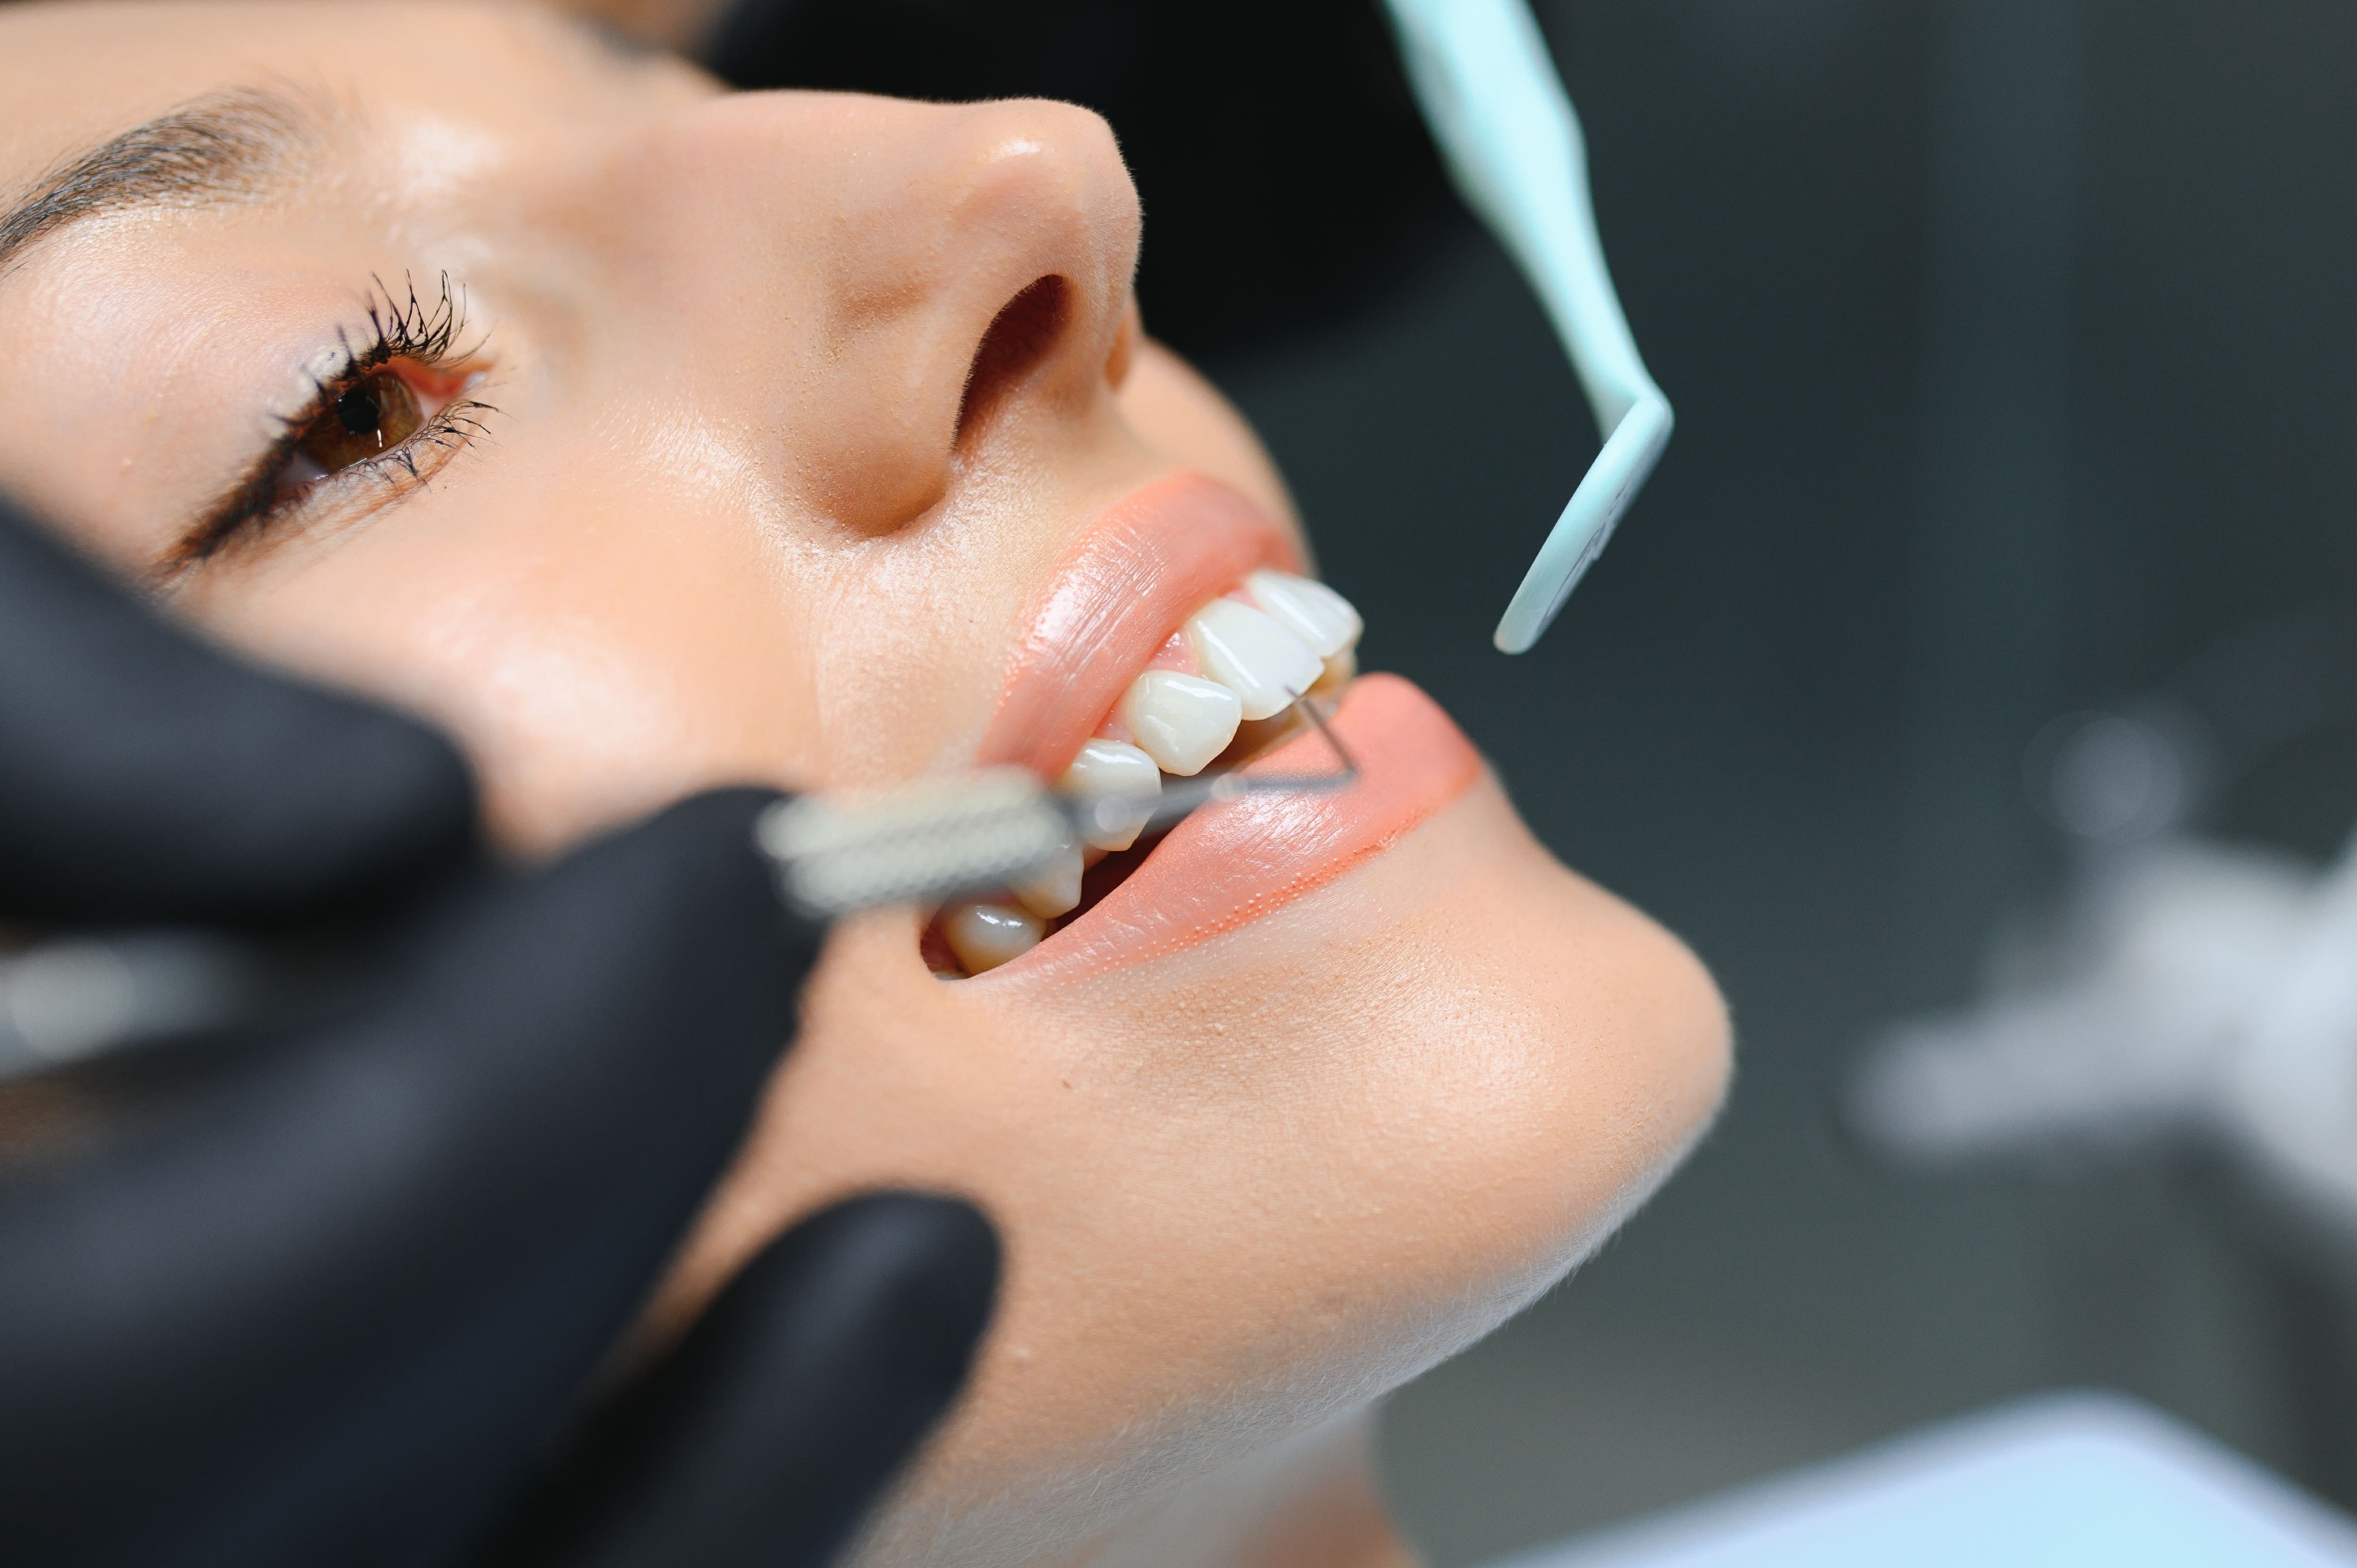
A tooth gem wax applicator is the tool that determines whether a crystal lands exactly where you intended — or shifts half a millimeter at the last second and ruins the placement. This guide covers what a wax tip tooth gem tool does, how to use it correctly step by step, and how it fits into a complete professional bonding workflow for clean, consistent results.
What Is a Tooth Gem Wax Applicator?
A tooth gem wax applicator — also called a wax tip tooth gem tool, rhinestone picker, or gem placement wand — is a single-use stick with a small tacky wax tip designed to pick up flat-back crystals, gold charms, and shaped tooth gems and hold them steady during placement.
Instead of juggling metal tweezers or silicone tips, you touch the wax tip to the face of the gem, lift it, and guide it precisely into position on the bonded enamel surface. The wax holds the gem without slipping until you're ready to cure — making it the most reliable way to place tiny crystals, butterfly gems, heart shapes, and multi-gem clusters accurately.
LaserGlow Tooth Gem Wax Applicator — 100-Pack
Disposable wax-tip brushes for precise, slip-free tooth gem placement. $22 for 100 pieces — enough for months of professional appointments.
Why Precision Matters in Tooth Gem Placement
A one-millimeter shift during gem placement can throw off symmetry, drag through adhesive, or create a bond that cures at an angle and pops off early. The more complex the design — clusters, constellations, multi-gem layouts — the more consequential any movement becomes.
Using a wax applicator instead of tweezers or fingers helps you:
- Pick up crystals cleanly without touching the face or the flat back where the adhesive will bond
- Hold the gem steady while you verify alignment from the front before firing the LED
- Place in a single controlled motion rather than sliding through adhesive
- Work faster on clusters where multiple gems need to be placed in sequence before curing
- Deliver camera-ready symmetry clients notice in photos and video
Features of the LaserGlow Wax Tip Tool
Cosmetic-grade tacky wax tip
The wax tip grabs gems at room and body temperature without visible residue. It secures stones from micro 1.5 mm crystals to heavier 3 mm+ charms and shaped gems without leaving wax behind on the bonding surface.
Slim micro core for clear sight lines
The narrow tip keeps your view of the enamel surface and gem edge unobstructed — essential for centering gems on laterals, canines, or anywhere symmetry precision matters.
Single-use hygienic design
Each applicator is used once and discarded. A fresh tip for every client means no contamination from previous appointments and consistent tackiness from the first gem of the day to the last.
Comfortable grip with gloved hands
The slim handle reduces hand fatigue during detail work and maintains control in gloved hands — important for multi-gem appointments where you're making multiple precise placements in sequence.
How to Use a Wax Tip Tooth Gem Applicator — Step by Step
Using Crystal Tooth Gems with a Wax Applicator
The wax applicator is the right tool for every crystal tooth gem style in the LaserGlow collection — from single flat-back clear crystals to heart, butterfly, bunny, and designer-inspired charm designs.
The flat-back design of LaserGlow's crystal tooth gems is specifically what makes the wax pick-up technique work reliably. The flat back creates a clean, consistent bonding surface that the composite glue grips evenly. Curved or rounded-back gems bond less predictably and increase the risk of early pop-off.
The Complete Tooth Gem Bonding Workflow
The wax applicator handles placement — but it's one part of a five-component professional system. Each piece has a specific role and the components need to be compatible with each other for predictable results.
1. Etch + Bond + Glue Kit — $60
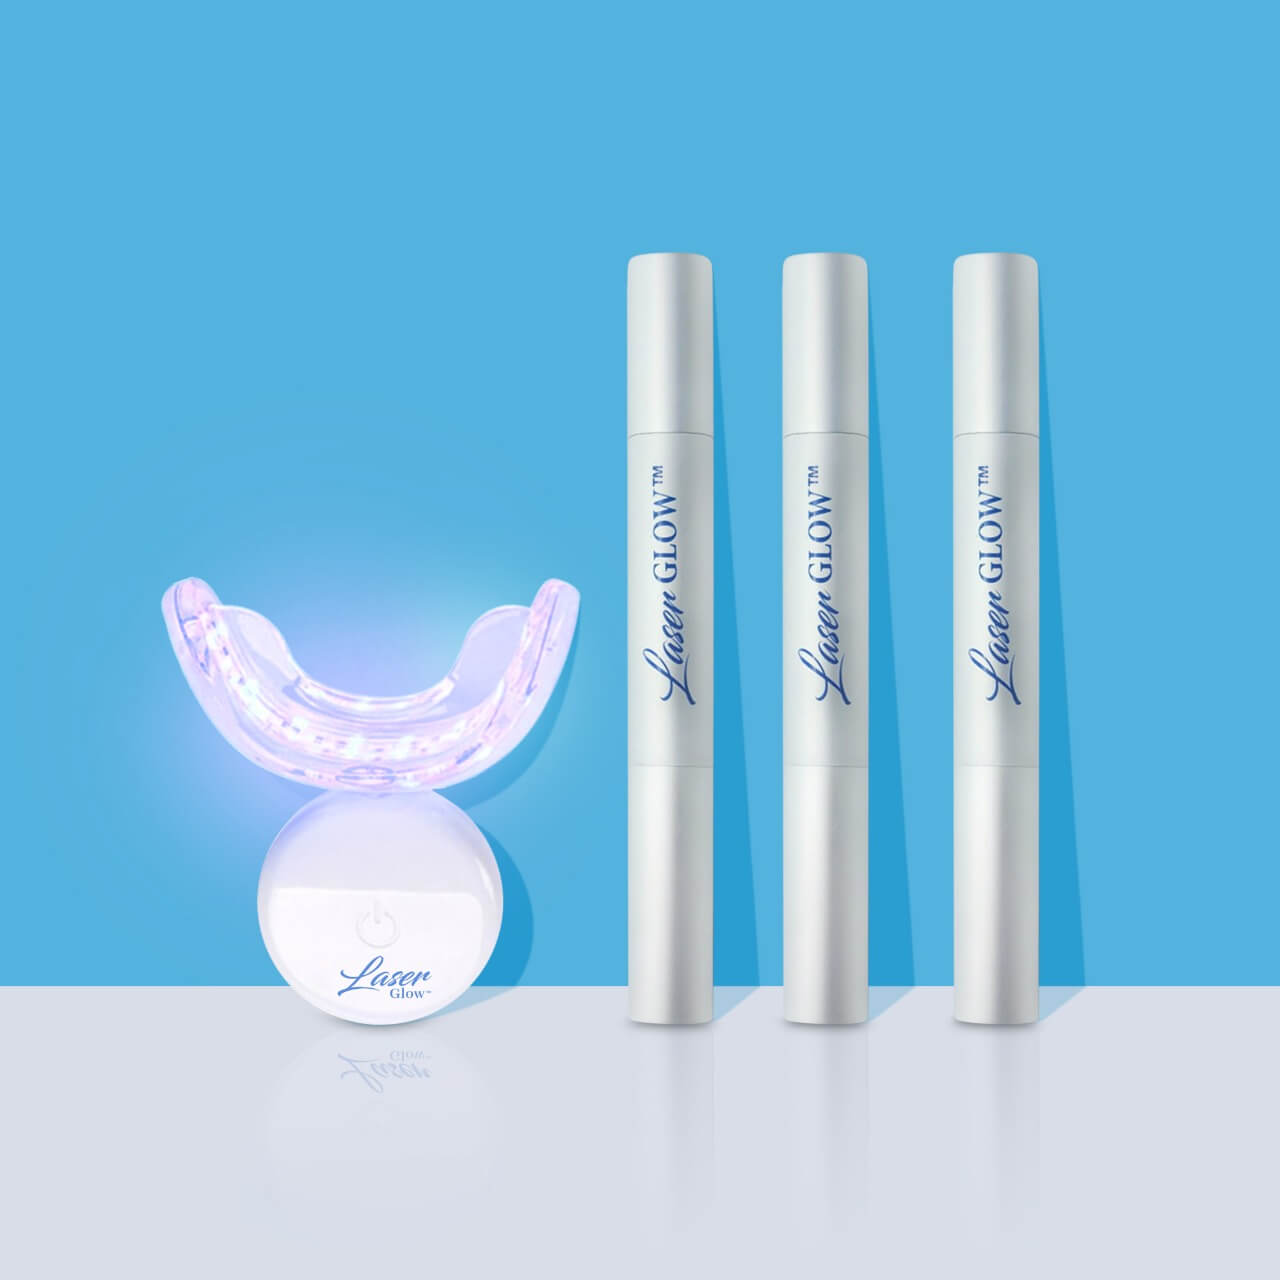
The three-step bonding system: phosphoric acid etch to prep the enamel surface, bonding agent to create the adhesive interface, and light-cure composite (the tooth gem glue) to secure the gem. This is the core of what makes a tooth gem bond last 6–12 months.
LaserGlow Tooth Gem Glue & Adhesive Kit
Professional etch, bond, and light-cure composite system — dental-grade materials designed for intraoral use. $60.
2. LED Curing Light — $90
The LED curing light is what activates the tooth gem glue. Without it, light-cure composite stays permanently soft and the gem won't bond. Cure from multiple angles for 20–40 seconds total — undercuring from a single angle is one of the most common causes of early pop-offs.
LaserGlow LED Curing Light
High-output LED curing light for tooth gems and gingival barrier applications. Rapid, even polymerization. $90.
3. Wax Applicator — $22
100-pack of disposable wax-tip brushes for precise gem pickup and placement. Use one per client — never reuse between appointments.
4. Crystal tooth gems
Flat-back crystals, butterflies, hearts, and charms designed for enamel bonding. The flat back is what the composite grips — don't substitute jewelry-store rhinestones or craft stones.
5. Removal tool — $29
Professional stainless steel tool for controlled gem removal and adhesive polishing without enamel scratching. Not a daily-use item, but essential when a gem needs to come off cleanly.
Disposable vs. Refillable Wax Tools: The Hygiene Factor
Refillable wax "crayons" or wax pencils might appear more economical, but they accumulate dust, skin oils, and surface bacteria over time. That contamination reduces tackiness and undermines the clean, hygienic experience clients expect from a professional service.
Disposable wax brushes let you:
- Start each appointment with a fresh, uncontaminated tip
- Maintain consistent pickup strength from the first gem to the last
- Support professional infection-control standards in your studio
- Demonstrate a clean, credible workflow clients notice and mention in reviews
At $22 for 100 applicators, the per-client cost is $0.22 — a negligible line item against a $50–$90 tooth gem service.
Pro Tips for Better Retention and Five-Star Reviews
- Verify alignment before curing, every time. A quick front-camera photo takes five seconds and prevents a permanent placement mistake that requires full removal to fix.
- Use the minimum amount of glue. Excess composite around the gem margins creates rough edges that trap plaque, irritate the tongue, and make professional removal more difficult.
- Cure from multiple angles. Incomplete curing from a single angle is one of the most commonly missed steps and a leading cause of early pop-offs after 24–48 hours.
- Check occlusion before the client leaves. Have clients bite lightly to confirm the gem is not in direct bite contact. Gems placed on incisal edges under chewing force will fail faster.
- Give written aftercare instructions. Clients who understand the 24-hour rule (avoiding sticky foods, hard biting, aggressive brushing) report significantly longer retention.
- Document your work. A front photo before and after each appointment builds your portfolio, gives clients reference images, and is the fastest way to grow your booking calendar.
Tooth Gem Wax Applicator FAQ
8 questions matching actual searches — from what a wax applicator does to how to use it and what tools you need for professional tooth gem application.
What is a tooth gem wax applicator?
A tooth gem wax applicator is a single-use stick with a tacky wax tip designed to pick up flat-back crystals and charms and hold them steady during tooth gem placement. It lets you position gems precisely on the adhesive surface before curing — eliminating the slippage that occurs with tweezers or fingers.
Also called a wax tip tool, rhinestone picker, or gem placement wand, it works by touching the wax tip lightly to the face of the gem — the crystal adheres instantly without sliding. You then guide the gem to its exact position and verify alignment before the LED curing light locks it permanently in place.
How do you pick up a tooth gem with a wax applicator?
Touch the wax tip lightly to the face of the crystal — just a gentle contact is enough to secure it. The gem adheres to the wax immediately without needing pressure. Lift straight up and guide the gem to the bonded enamel surface. Do not press hard — too much pressure leaves wax residue on the gem face that can interfere with the final finish.
For shaped gems like butterflies and hearts, the face of the charm is usually the larger, more visible surface. Touch the tip to the center of that face to achieve the most balanced hold for placement. For tiny micro crystals (1.5 mm or smaller), dampen the wax tip very slightly before pickup to increase tack on smaller contact areas.
How do you place tooth gems without them slipping?
Use a wax tip applicator to pick up and hold the gem rather than metal tweezers or fingers. The wax holds the gem steady while you guide it to position, verify alignment, and do a final check before curing. Once you fire the LED, position is locked — the wax tool gives you the control window to get it right the first time.
Other placement factors that prevent slipping: applying only a pinhead amount of composite (too much glue creates a slippery bed for the gem), keeping the field completely dry throughout (moisture reduces adhesive tack before curing), and working quickly after applying glue so the composite doesn't begin to flow before the gem is seated.
What tools do you need to apply tooth gems?
A complete tooth gem application setup requires: etching gel, bonding agent, light-cure composite adhesive (tooth gem glue), flat-back crystal tooth gems, an LED curing light, a wax applicator tool, and isolation accessories (cotton rolls or a cheek retractor). The LaserGlow Business Starter Kit from $250 includes all core components.
Never substitute household adhesives — super glue, nail glue, and craft adhesives are not formulated for intraoral use, bond differently than dental composite, and cannot be removed cleanly without risking enamel damage. The LaserGlow Tooth Gem Glue Kit at $60 provides the correct three-step dental bonding system.
Can you use tweezers instead of a wax applicator for tooth gems?
You can use tweezers, but a wax applicator is significantly more accurate for most placements. Tweezers grip the sides of the gem, which can slide or rotate during placement and risk scratching the adhesive surface. The wax tip picks up from the face of the gem and holds it in a stable, controlled position throughout the placement motion.
For very large shaped charms or gems with irregular silhouettes, curved precision tweezers (like ESD-17s) can supplement the wax applicator for initial pickup — but the wax tool is still preferred for the final placement and alignment step where control matters most.
How long do tooth gems last when placed with a wax applicator?
With correct preparation, dental-grade bonding materials, and proper LED curing, professionally applied tooth gems typically last 6–12 months. The wax applicator itself doesn't directly affect longevity — longevity depends on the bonding protocol, enamel prep, adhesive quality, and client aftercare. What the wax tool prevents is placement errors that cause early failures.
The most common causes of early pop-offs are moisture contamination during etching, insufficient etch time, too much composite glue, and undercuring the LED. If gems are consistently falling off within 24–48 hours, the issue is bonding protocol — not the gem or the applicator tool.
Is the wax tip safe inside the mouth?
Yes. Cosmetic-grade wax is used as the applicator tip and is not left in the mouth — the wax stays on the gem face during placement and is wiped off cleanly with a microbrush after curing. The applicator itself never contacts gum tissue or soft tissue during correct use.
If any wax residue remains visible on the gem face after placement, clean it gently with a microbrush dampened with a small amount of alcohol on the gem face only. Keep alcohol away from composite margins and enamel.
How many wax applicators do I need per client?
One applicator per gem is the professional standard for a single-crystal placement. For multi-gem cluster sessions, use a fresh applicator for each gem to avoid cross-contamination between gems and maintain consistent wax tackiness. At $22 for 100 pieces, the cost per client is negligible.
Some technicians use a second applicator mid-appointment to refresh the wax tack on very long cluster sessions (5+ gems). Once a wax tip has picked up and placed several gems in sequence, the tack may reduce slightly — a fresh tip restores full pickup precision for the remaining gems.